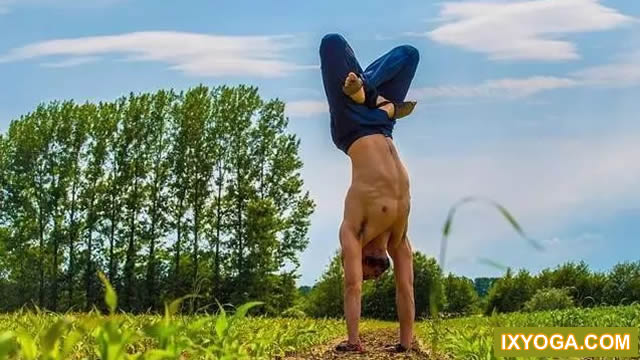
We’ve all experienced back pain
. 
From mild to severe, and yoga practice can improve the situation
. 
It improves back health and minimizes pain
. 
Yoga is for everyone, but not all postures are for everyone
. 
Today we introduce a simple sequence that can relieve back discomfort and improve health
. 
The sequence is not for acute pain or for (or to provide) a specific diagnosis
. 
If you have acute pain, please see a doctor in time
. 
Before starting this sequence, focus on maintaining the natural curvature of the spine, especially the forward curvature of the lower back spine
.
Focus on the flexibility of the hips and legs
.
Too much tension in the hips and legs needs to be solved so that the pelvis can be in a proper position in daily life and yoga postures
.
Breathe slowly and smoothly
.
Breathing can solve the nervous system overreaction tendency and help promote spinal movement
.
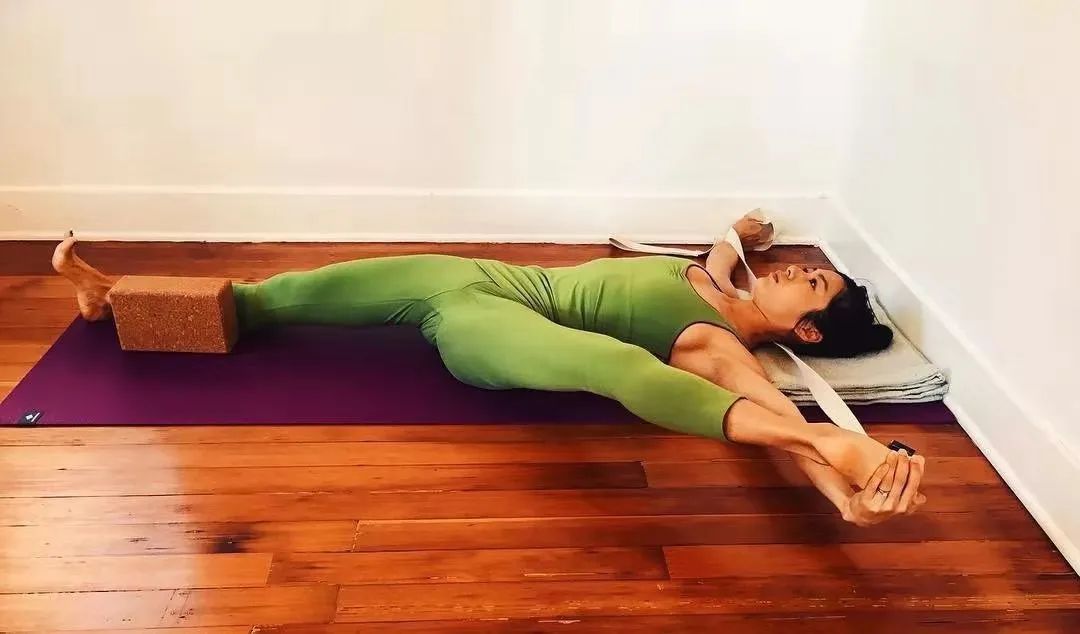
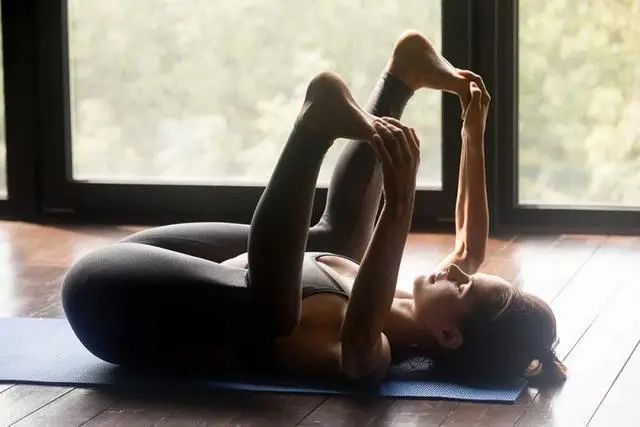
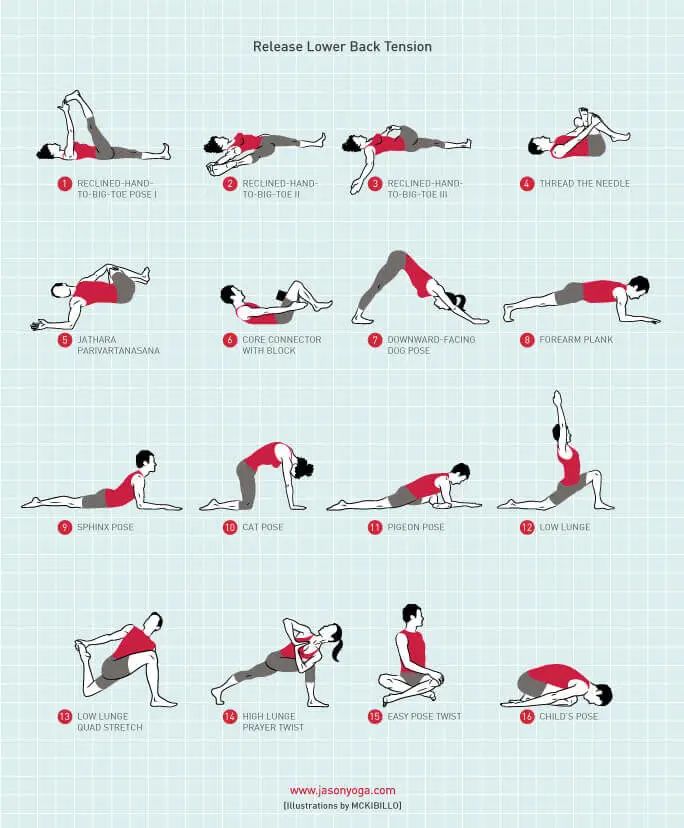
Position 1-5 supine buttocks, hamstrings and adductors open is the basis of waist maintenance
.
A stable core is essential to reduce the comfort of the lower back
.
However, if your hips, hamstrings, or adductors are too tight for your pelvis to align properly, there is not enough core strength to protect your lower back
.
The first three postures are great
.
You can practice them at home
.
The first four postures of this sequence do not need your lower back or pelvis to move
.
Instead, you should keep your lower back and pelvis fixed and move your legs
.
You can hold on to the Yoga band instead of your feet
.
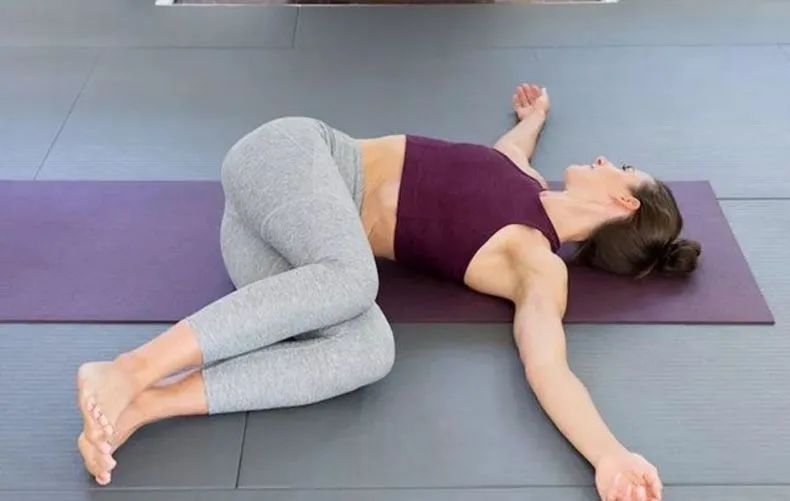
The fifth position causes a slight tilt twist to help you create more movement in the thoracic spine (the part of the spine that connects to your ribs)
.
Posture 6-8 in addition to moving the hips, hamstrings and adductors, strengthening the core is also essential to improve lower back discomfort
.
The two most effective core strengthening postures in yoga are rowing (position 6) and forearm plank (position 8)
.
These postures can be completed correctly with very little spinal flexion
.
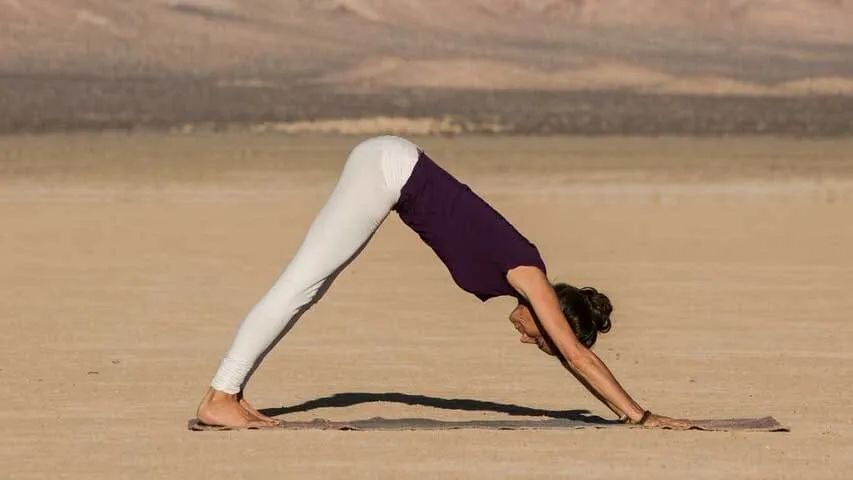
In this order, I put down dog between the two core positions to help you focus on lengthening your spine, which helps relieve back discomfort
.
Postures 9-10 most people like to switch between cat and cow
.
But I found that my body was not comfortable in the cow style
.
I like the cat style
.
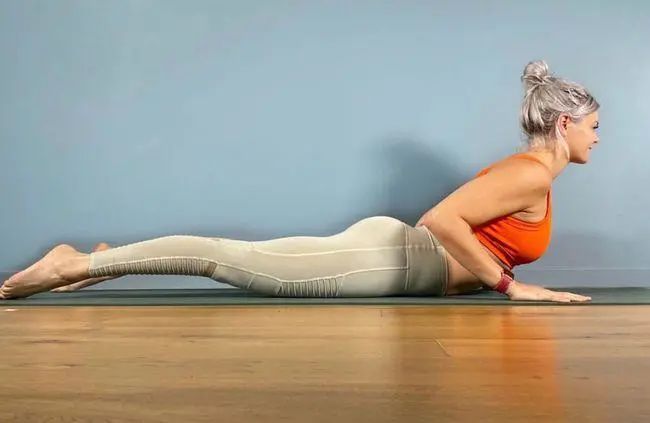
So I chose to pair the Sphinx with the cat
.
The Sphinx is the first position in these sequences that requires back extension
.
Do not allow your abdomen to sink into the floor in position as this may cause your lower back to bend too tight
.
You need to gently press the pubis into the floor and pull the lower abdomen toward the spine
.
Notice how this posture feels on your lower back
.
Posture 11-14 yoga, hip should become your daily practice
.
Pigeon can stretch the outside and the back of the hip, especially the gluteus maximus and the six external rotators living under the gluteus maximus
.
Pigeon also lengthens the hip flexor at the front of the pelvis
.
This is especially important for those with particularly tight hip flexors
.
Posture 13 also increases the length of the hip flexor by stretching the quadriceps
.
This group ended with a twist, because for those with back muscle tension, a mild twist is great
.
Posture 15-16 is like baby’s, with a slight twist and a slight forward bend closing sequence, which is good for all people struggling with lumbar discomfort
.
Baby pose can be more effective by bringing breath to the lower back..
.