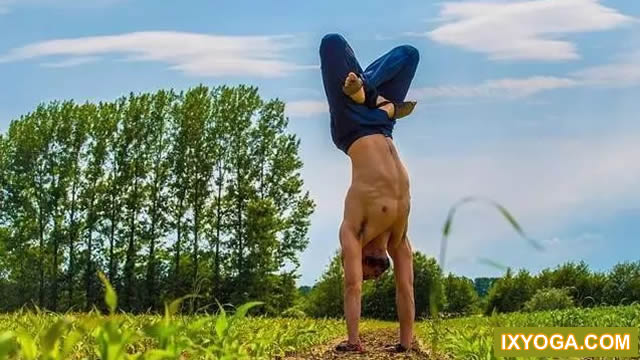
Muscle has a far-reaching impact on the ability of human movement, which is not new at all.
In recent years, the popular exercise leg muscle group and core muscle group are often advertised as the body’s large muscle group, which helps to improve the overall exercise ability.

The inborn ability of breathing and exhaling will follow you for a lifetime from the moment of birth, but most people do not pay attention to the importance of breathing.

The muscles used in breathing can be divided into expiratory and inspiratory muscles.
The harmonious operation of the whole creates the word “abdominal breathing”.

Breathing plays an important role in yoga practice.

Inhaling is used to expand asanas, and exhaling is used to relax.

Only by paying attention to breathing training and consciously connecting the mind and body can we achieve the training purpose.
Inspiratory muscle sounds strange, but in short, it is the muscle group that will be used during inspiratory action.

80% of the muscle groups used for inspiratory action are diaphragm and external intercostal muscle: through the active stimulation driven by the brain, when the diaphragm and external intercostal muscle contract, the diaphragm moves downward and the chest moves upward, which increases the space in the chest, so the internal pressure decreases.

Using the difference of air pressure, the external air can enter the body.

As the most important respiratory muscle, the diaphragm will inhale inward through contraction during inhalation, so as to increase the volume of the chest and reduce the pressure.
When you exhale, the process is just the opposite.

The chest cavity volume decreases and the pressure increases, just like a balloon exhaust.

Starting point of diaphragm: sternum: posterior part of xiphoid process.

Rib part: the inner surface of the lower six ribs and costal cartilage.
Lumbar vertebrae: three upper lumbar vertebrae.

Medial and lateral lumbar costal arches.

Stop: all the fibers gather and attach to the central tendon.

Function: produce about 60% respiratory capacity.

In addition to diaphragmatic respiration, other muscles such as trapezius, transversus abdominis, intercostal external muscle and intercostal internal muscle are also helping to complete respiration and play a role in stabilizing the diaphragm.
Knowing the position of these breathing muscles can make your yoga movements more standard and achieve the training effect.

Now let’s see where they are? And learn how to do the standard movements of the postures that are commonly used to exercise them.
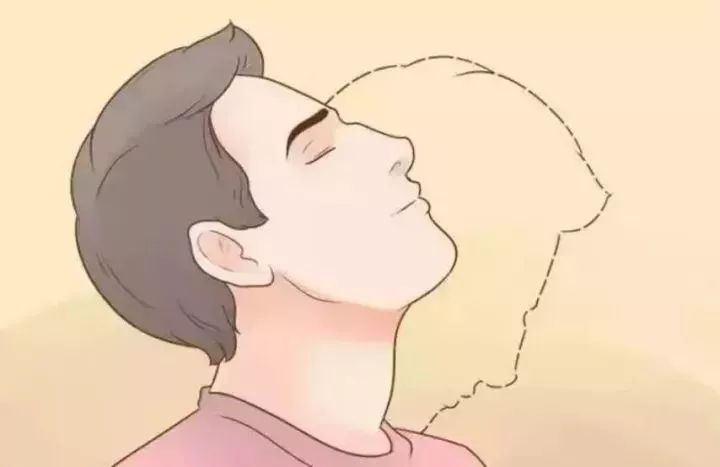
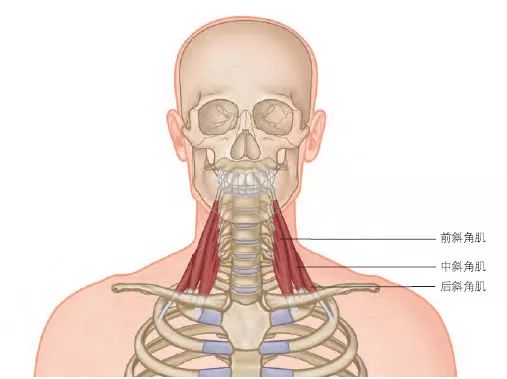
The position of the scalenus muscle starts from the transverse process of the cervical spine, the position of the anterior scalenus and the middle scalenus is to the first rib, and the position of the posterior scalenus is to the second rib.
A yoga pose that frequently uses this muscle – Vajra sitting ▶ The movement starts with kneeling, and the sitting bone is placed on the heel.
Spine extension, shoulder and shoulder girdle alignment, hip and knee flexion.

When viewed from one side, the middle of the ear, shoulder and hip are aligned with each other.
▶ Action points: the center of gravity of the trunk is directly above the sciatic bone.

Do not hold this position for more than 10 minutes.

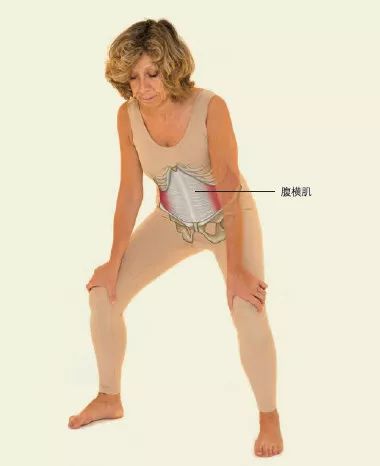
The position of the transverse abdominal muscle starts from the first two-thirds of the iliac bone, the third transverse inguinal ligament, the costal cartilage of the lower six ribs and the thoracolumbar fascia.

The white line of the abdomen passing through the aponeurosis of the abdominal muscle.

A yoga pose that frequently uses this muscle — hanging stomach breathing ▶ Stand with feet shoulder width apart, bend your knees, and hold your knees with both hands to support your body.
The abdominal muscles expand outward when inhaling and contract inward when exhaling.
Repeat 3~5 times.

▶ Action points: the pelvis is tilted forward, and the hip joint and knee are slightly flexed.
Keep your knees and toes in line, your spine neutral at the beginning, and your shoulders pressed down.
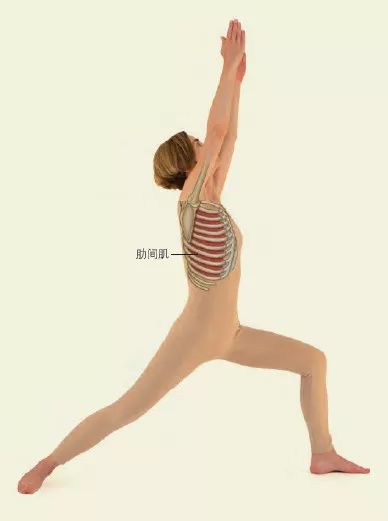
Location of intercostal muscle location of external intercostal muscle: from the lower edge of the rib to the upper edge of the rib below.
Position of intercostal internal muscle: from the upper edge of rib and costal cartilage to the lower edge of rib above.
Yoga asana that frequently uses this muscle – Warrior type ▶ Move your hands on your hips, step back on one leg, and bend your front knee.
Inhale and hold your arms high, looking forward or up.
▶ Action points: make sure that the front knee is facing forward and does not exceed the big toe, and the outer edge of the rear foot is pressed down.
Find the breathing muscles, let’s practice! Share 6 yoga breathing methods, which are as important as asanas.
In addition to helping with asana exercises, from the perspective of modern medicine, rhythmic breath regulation can alleviate asthma and help treat stress-related diseases, such as daily anxiety and depression.
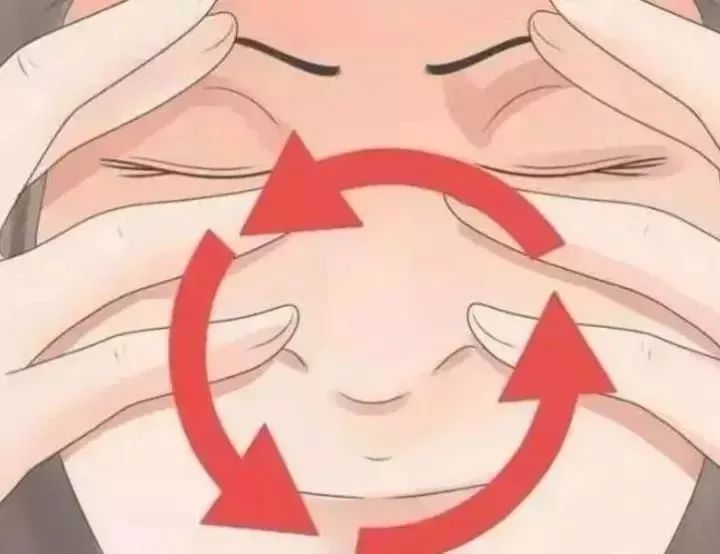
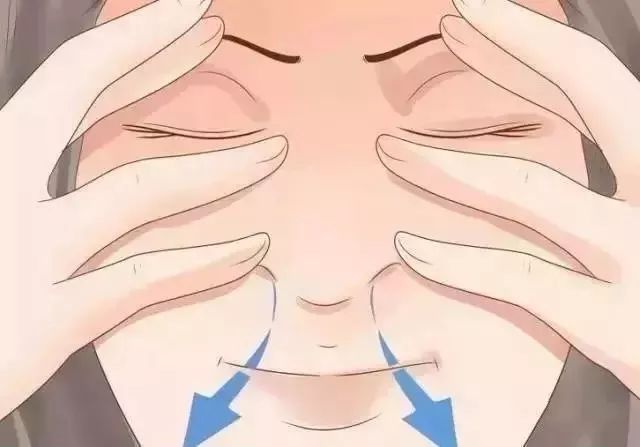
1 key points of holy light breath regulation method: inhale through the nose until you feel that the lungs are full of gas, then slowly and naturally inhale, feel the diaphragm sinking, expand the lungs to stretch the abdomen outward, feel the expansion of the chest, and finally lift the clavicle.
Key points of bellows breathing method: breathe through the nose, feel the downward movement of the diaphragm, expand the lungs to stretch the abdomen outward, expand the chest, and finally lift the clavicle.
Exhale quickly through your nostrils.
Feel the sinking of the clavicle, the adduction of the chest, and the contraction of the lungs and abdomen.
The process of exhaling should be much faster than the process of inhaling – like a rapid exhaust.
Repeat.
When you finish this action correctly, you will feel the expansion and contraction of your chest when you inhale and exhale.
Repeat for 5 minutes.
Speed up your breathing through practice.
Note: beginners should start slowly and avoid strong breathing, but over time, this will become a fast breathing technique.
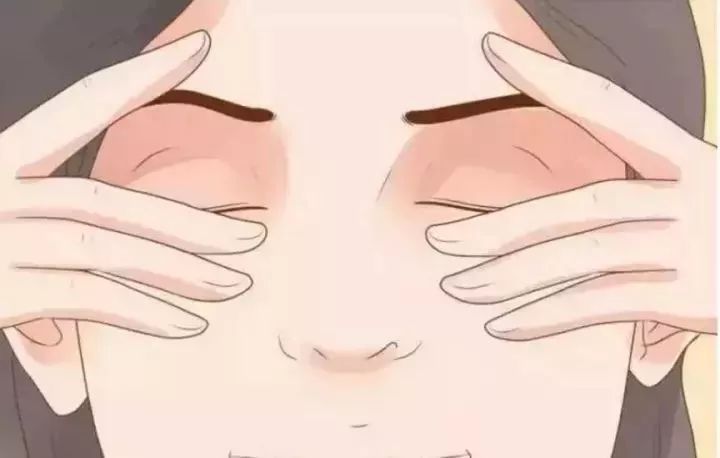
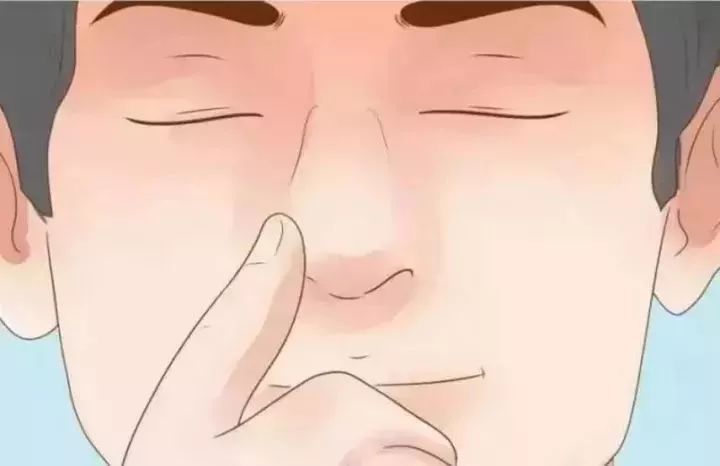
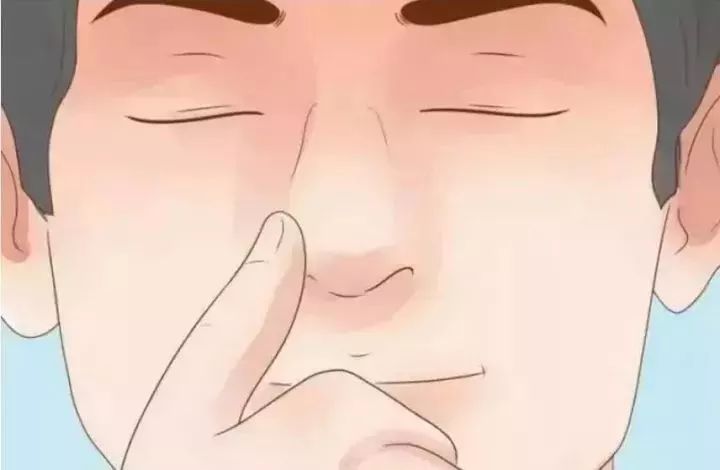
Close your eyes with alternate nostril breathing Pay attention to your breathing.
Close the right nostril with the thumb of the right hand.
Use your thumb to gently press down on your nose to stop the flow of air.
Inhale slowly through your left nostril.
Fill your lungs with air.
First, feel the diaphragm sinking, expand the lungs to stretch the abdomen outward, expand the chest, and finally lift the clavicle.
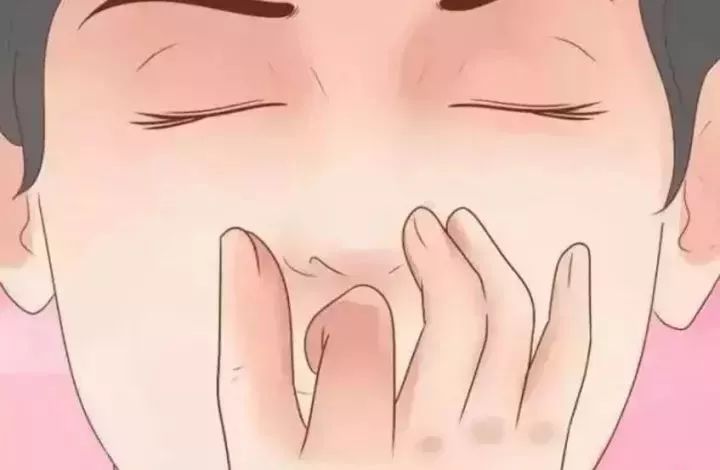
Move your thumb away from your right nostril.
Place your right hand under your nostrils to keep your lungs full of air.
Close the left nostril with the ring finger and middle finger.
Many people find it easy to close any nostril with the same hand, depending on which nostril you want to close.
You can also change hands if your arms are tired.
Exhale slowly through your right nostril..