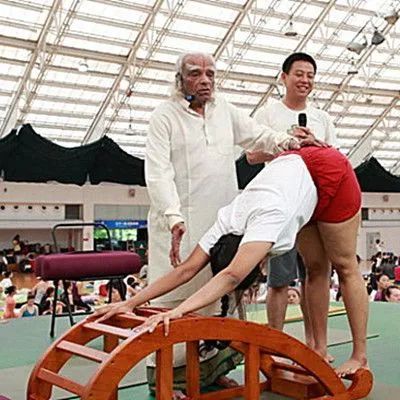
Iyengar yoga is named after the famous Indian yoga master bksiyengar.
The most distinctive part of Iyengar yoga postures is the use of assistive devices.
Iyengar encourages the use of assistive devices to achieve alignment.
The support of assistive devices will also give you confidence and enhance your physical awareness.

Beginners and advanced practitioners can use assistive devices during practice.

The assistive devices commonly used in aiyange yoga classes include yoga bricks, yoga belts, mats, ropes, sandbags, poles, etc.
Here are 8 Iyengar yoga postures that you can easily practice at home.
1.
Asana is one of the basic postures.
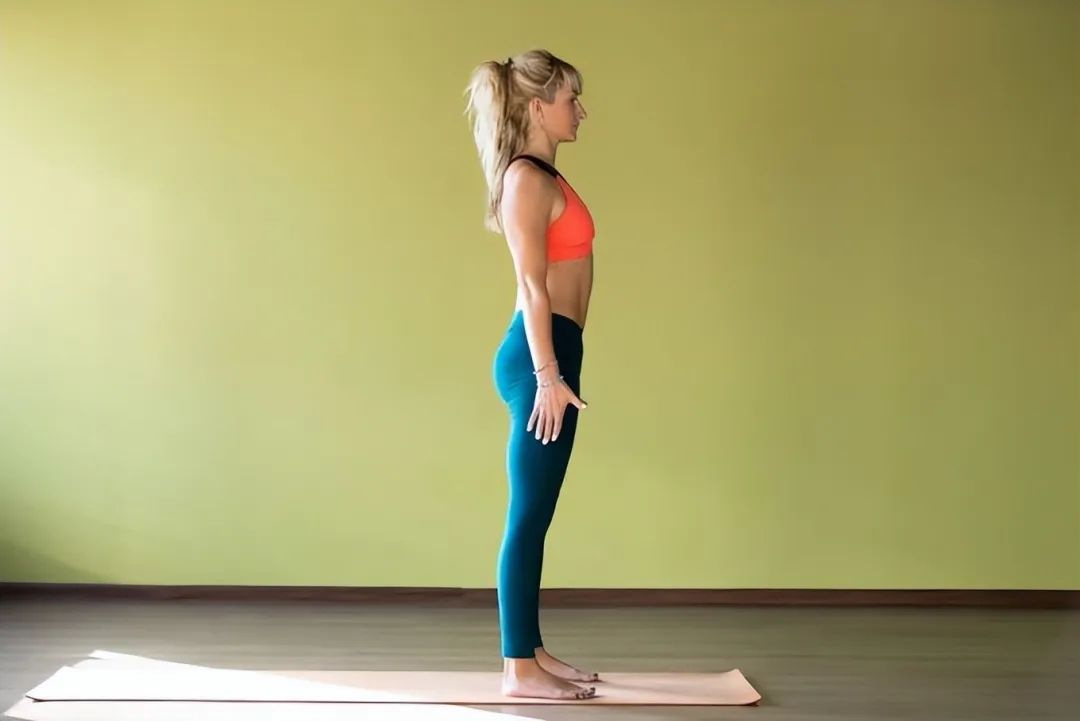
Asana is the basic posture for most standing or balancing postures.
Place the yoga bricks between your thighs.
This will strengthen the inner thigh muscles.
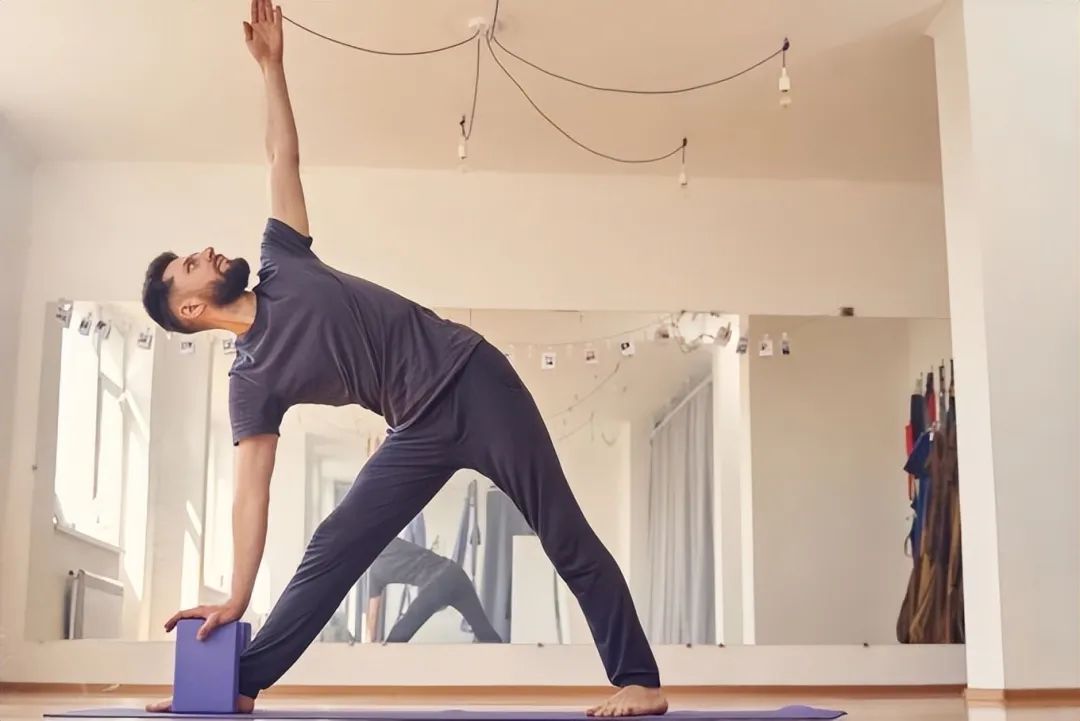
2.
Trigonometry in Iyengar yoga, trigonometry can be assisted by yoga bricks.
If you can’t put your hand on the mat or ankle, you can put it on the calf or yoga brick.
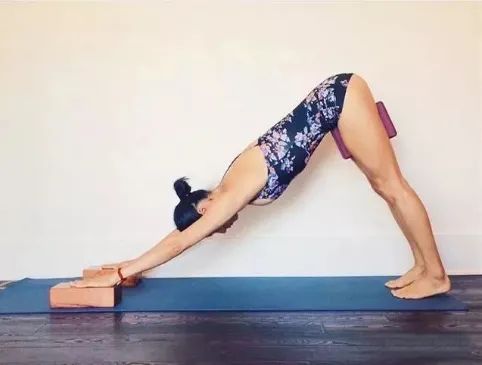
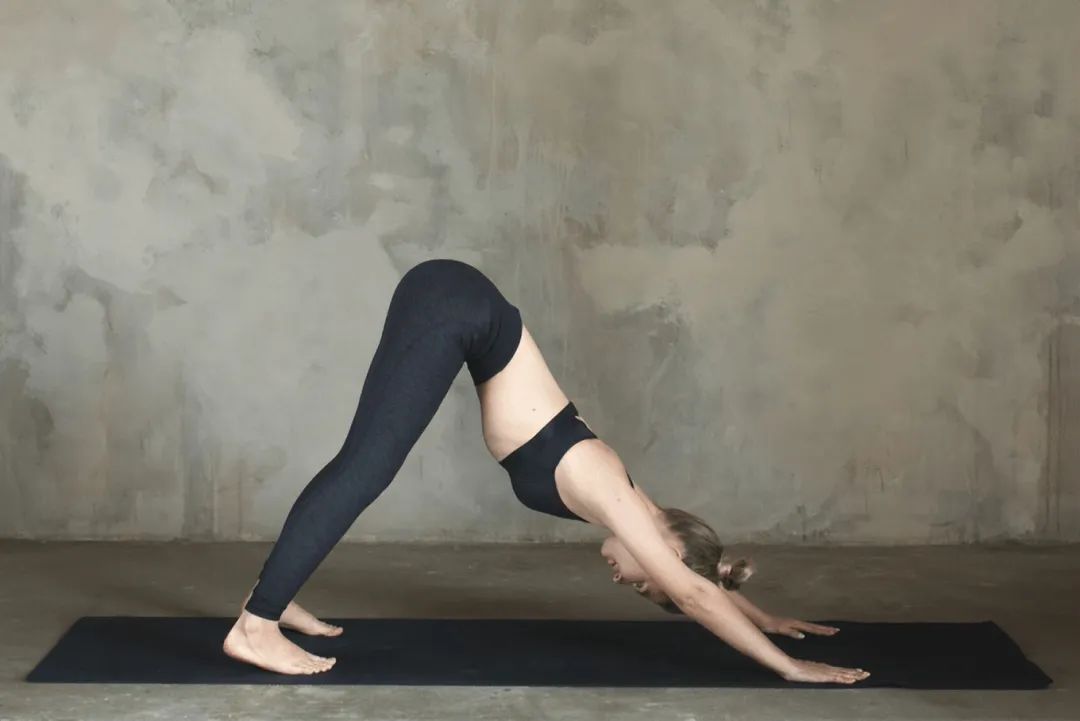
3.
In downward dog pose, you can put a folded blanket / towel under your heel, or use yoga bricks to fix your hands.
Another option is to tie a strap over the elbow to keep the arms aligned.
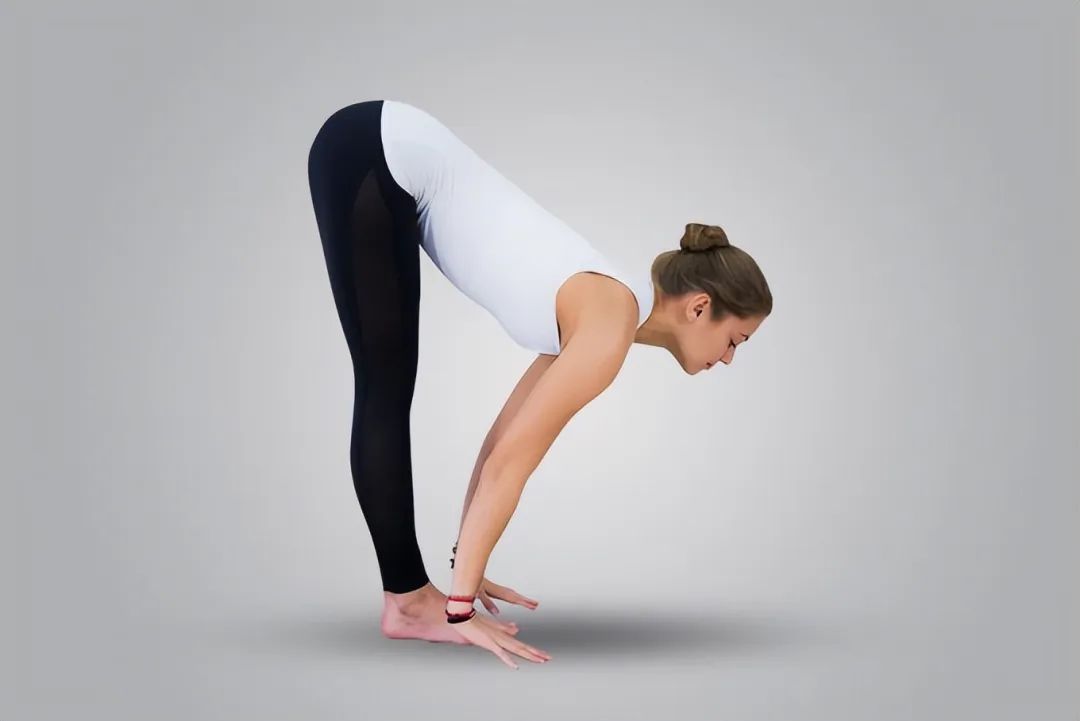
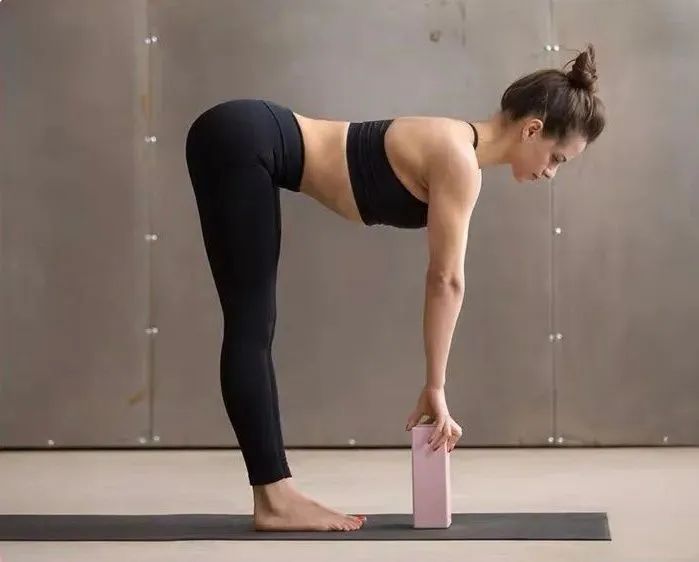
4.
Standing forward bending standing forward bending in Iyengar yoga, you can use chairs and yoga bricks to support the downward extending hands.
To reduce tension in the back and neck muscles.
Beginners can keep their knees slightly bent.
If their hands cannot touch the ground, they can put them on the yoga bricks.
Yoga bricks can be placed on the outside of the foot.
You can also use the back of the chair to support your hand, but this is a half forward bend.
This is especially useful for people with tight hamstrings, stiff hips or developed back muscles.
5.
Sit up and bend forward you can: put a folded blanket or towel under your knees and hips.
Place it lengthwise on your lap with a cushion.
You can also use yoga to increase and decrease the degree of bending.
Wrap a band around your foot and hold the end with both hands.
The yoga belt will give you resistance and support and keep your back straight.
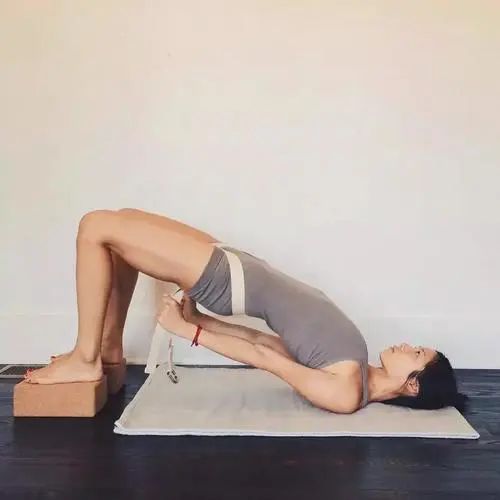
6.
Support bridge: by using assistive devices, you can reduce the tension of legs, hips, gluteal muscles and lower back, and use your hamstrings and core muscles to lift your hips off the ground.
Place a support under the sacrum, such as a folded blanket, pillow, or yoga brick.
Support the lower back and tailbone.
You can also put a rolled up blanket under your head to prevent muscle stiffness or discomfort.
If you feel your legs are slipping or unable to keep them, you can fix them with yoga bands.
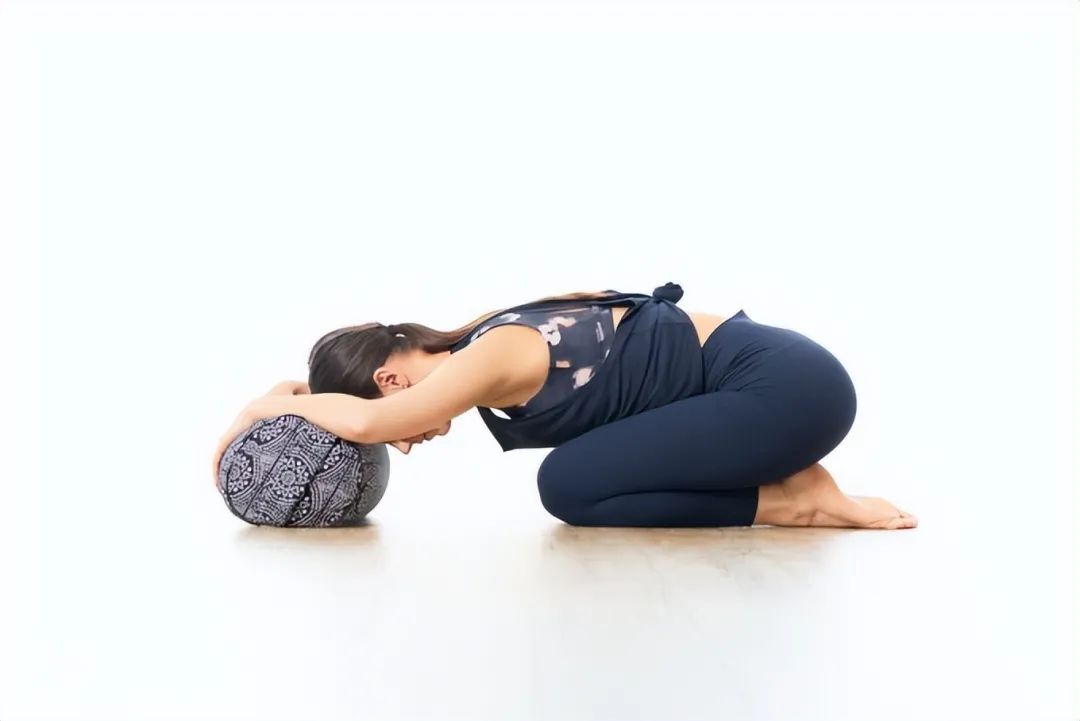
7.
Baby type you can use rolled up towels or folded blankets to cushion the back of your thighs for more support.
You can also put your forehead on a cushion or yoga brick.
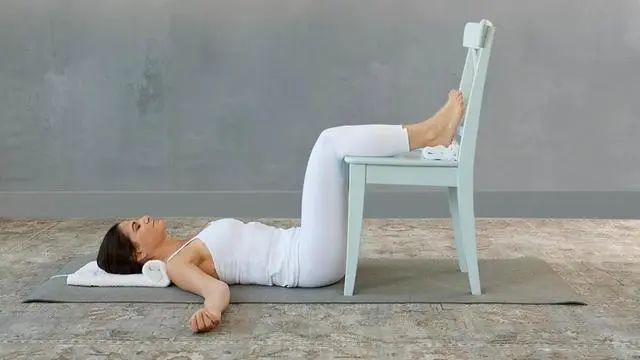
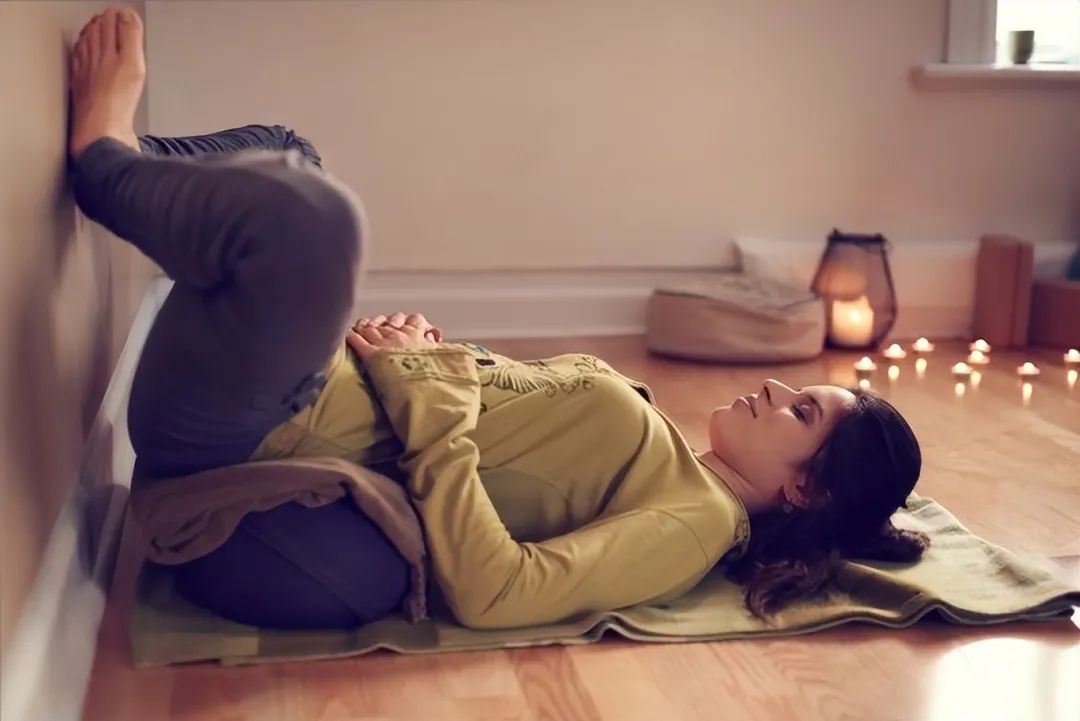
8.
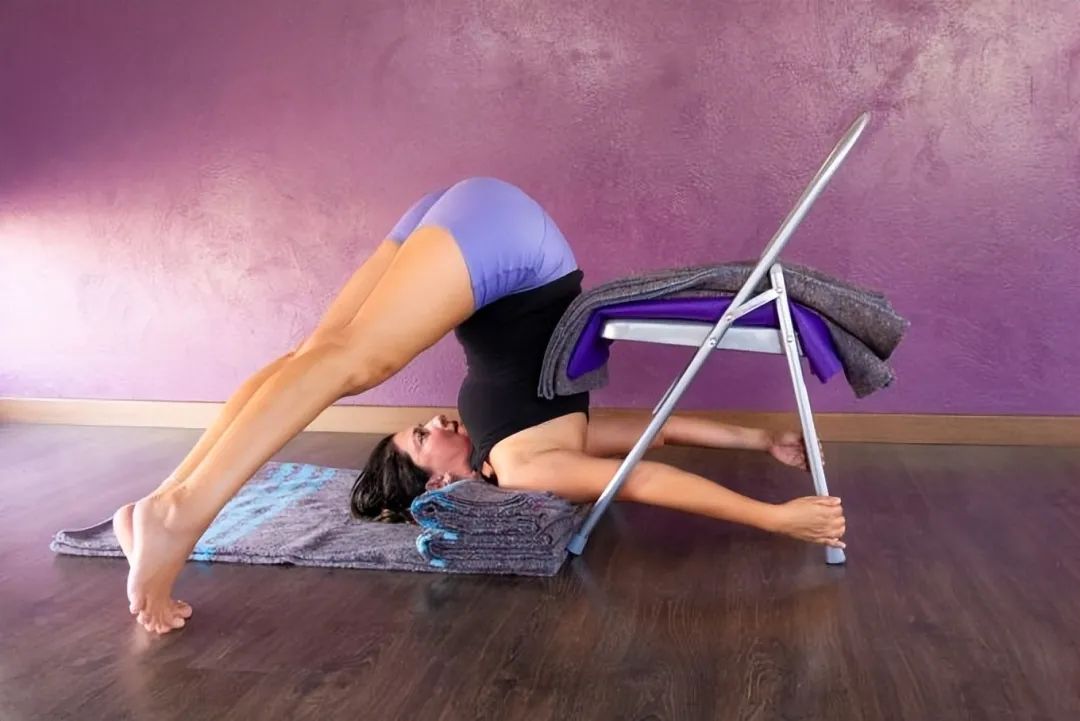
Back up against the wall.
Prepare a wide cushion, pillow or folded blanket to support your hips.
At the other end of the mat, place a folded blanket or pillow for your head and neck.
You can also use chairs instead of walls to place your legs.
Put your legs on the chair…