Ray long, MD, FRCSC believes that readers who love yoga are familiar with it
. 
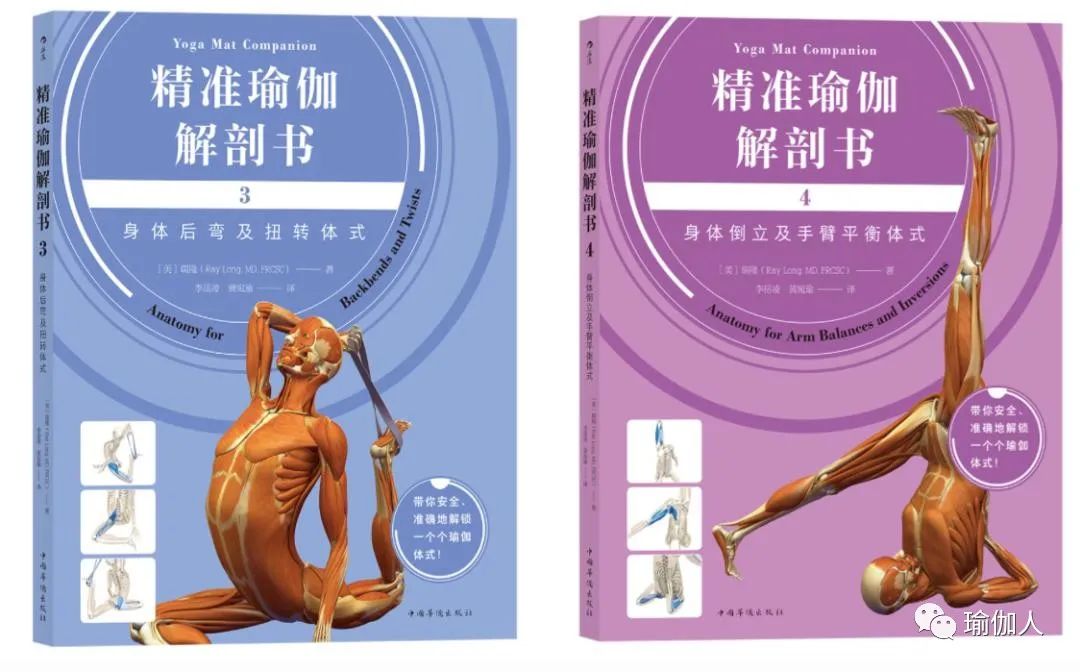
After 1 and 2, Volumes 3 and 4 of the book of precise yoga anatomy finally meet readers! This book is divided into four volumes, and has been translated in nearly two years
. 
Among Yoga learners, yoga has gradually changed from simple postures to diversified exercises
. 
Under the premise of health, learners begin to pay more attention to the healing value of yoga
. 
The mastery of human body structure and function is one of the skills that yoga teachers need to master
. 
This book fully reflects the relationship between human muscle function and postures
. 
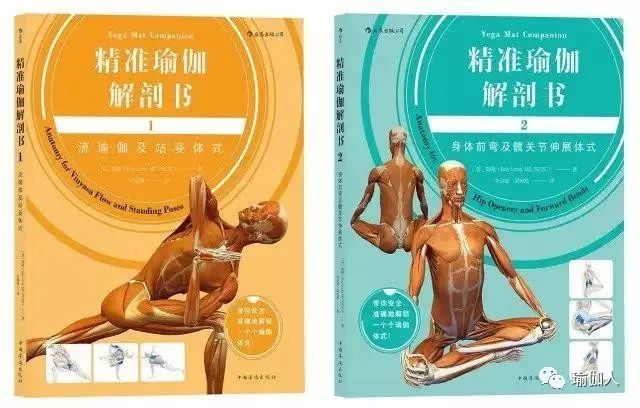
This series of books provides guidance and help for beginners who have yoga foundation or want to practice yoga with rich pictures and action explanations《 There are four precise yoga anatomy books ⬇️ The first two books are: Volume 1: Flow Yoga and standing posture( The second volume: forward bending and hip extension( The new books 3 and 4 are: Volume 3: back bending and twisting postures( Let your body flexibility, muscle flexibility and stability) Volume 4: body handstand and arm balance posture( It aims to break the limitation of human body’s innate structure and restart the flexible power.) The book is easy to understand with exquisite and detailed anatomical drawings to help readers fully understand the relationship between muscle groups and yoga movements, and get familiar with the law of contraction and extension of each muscle in yoga postures
. 
At the end of the book, the relevant muscle and bone index and the explanation of yoga postures terminology are attached to make yoga practice easy and in-depth
. 
In a word, the series of precise yoga anatomy books help you to use scientific principles to connect and balance your body and mind when practicing yoga
. 
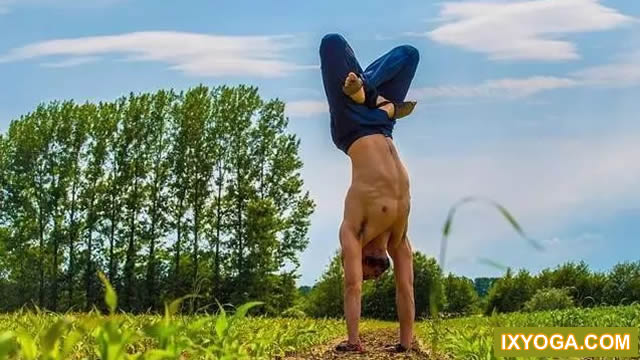
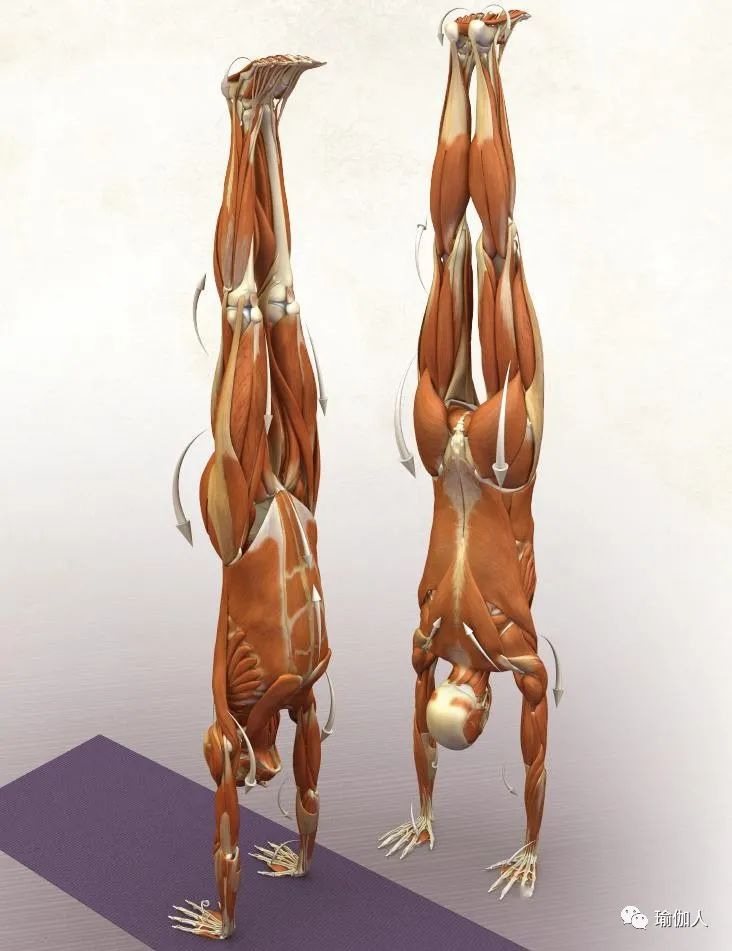
Handstand is not only an inverted three-dimensional posture, but also an arm balance posture
. 
There are many advantages of inverted three-dimensional, such as increasing venous return, increasing cardiac blood output and promoting lymph flow into thoracic duct
. 
We are bipedal, and most of us walk or stand on our feet when we are awake
.
Therefore, the natural structure of the hip joint is to bear weight, which is conducive to our carrying out such activities
.
The shoulder joint is not the same
.
The shoulder joint is very flexible and specially designed to interact with the external environment (through both hands)
.
So we practice the inverted hand or other inverted three-dimensional posture, which can be said to completely reverse the principle of human body design, and use the flexible shoulder joint as a stable weight-bearing joint
.
In view of this, we must strengthen the shoulder muscles to improve the stability of the shoulder joint
.
The stability and balance of the handstand depend entirely on the pelvis
.
When practicing the standing posture, we first connect the lower limbs and pelvic core, and then fine tune the overall posture with the movements of the upper body
.
In the inverted pose, we first connect the upper limb and shoulder girdle, and then use the pelvic core to stabilize the movement
.
Pelvic shaking is easy to cause posture instability, because as long as the pelvis shakes a little, the force will spread to the upper limb, and the shaking amplitude will be doubled immediately, so that the upper limb must spend more energy to maintain the movement
.
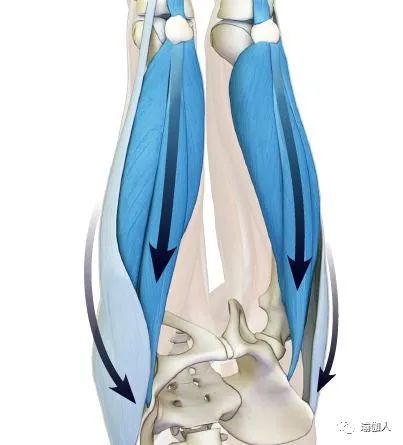
Therefore, in order to maintain the stability of arm balance posture, it is necessary to wake up the pelvic core muscles (psoas and gluteus), and give moderate exercise
.
Yoga_ How to enter the handstand for the handstand preparation? In fact, this is very learned, involving the principles of physics and biomechanics, that is, momentum and joint rhythm
.
We must skillfully combine the two, so that the body can be lifted up under control and enter the posture
.
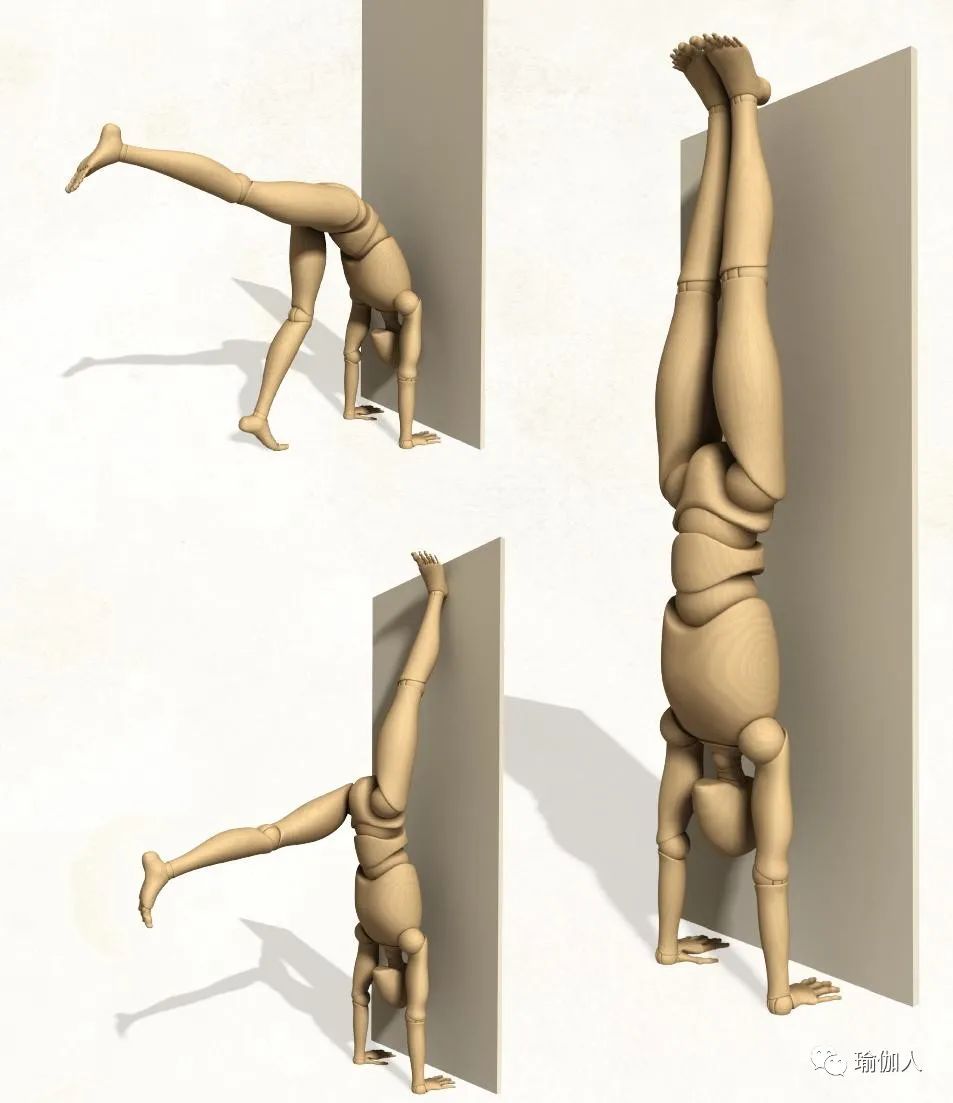
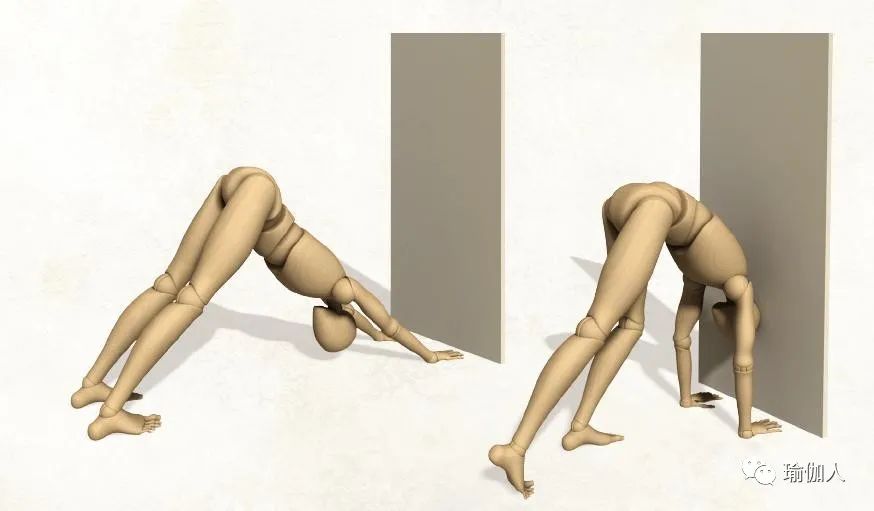
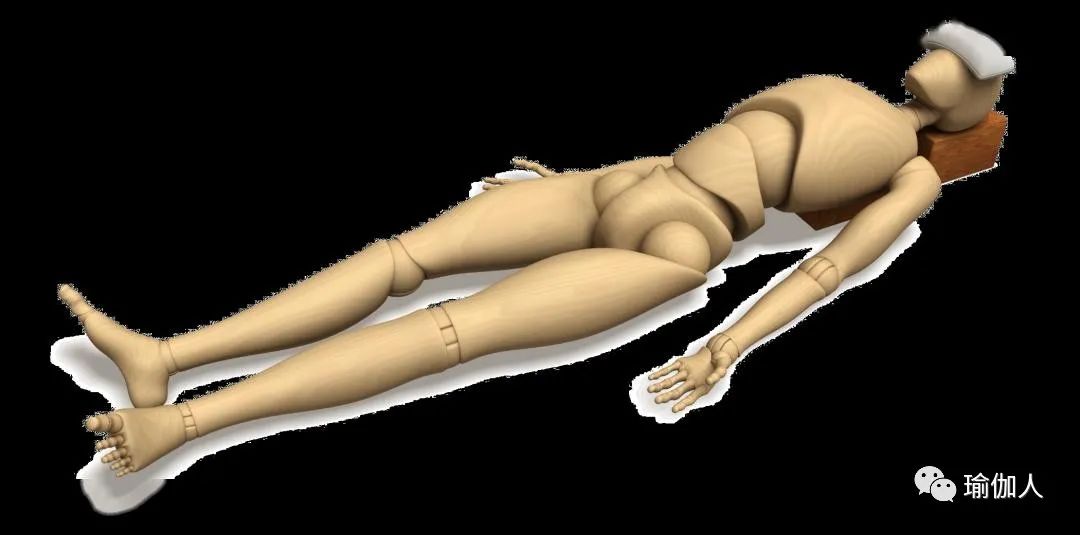
Start with Down dog
.
Then, take a small step forward with one leg, step firmly, bend your knees, and you will find that the body center of gravity has changed, the weight has moved forward to the palm of your hand, and the arm is closer to the vertical angle
.
If you haven’t done handstand, I suggest you stop at this step first, let the arm bone get used to the vertical position, and experience the feeling that the mechanical axis is parallel to the anatomical axis
.
Then, with the rhythm of “one, two, three”, move the weight right above your hands
.
Then activate the thighs, buttocks, and lower back muscles to lift the straight leg behind and lean against the wall
.
Combined with the momentum of shaking back and forth and the strength of erector spinae, lift the other leg
.
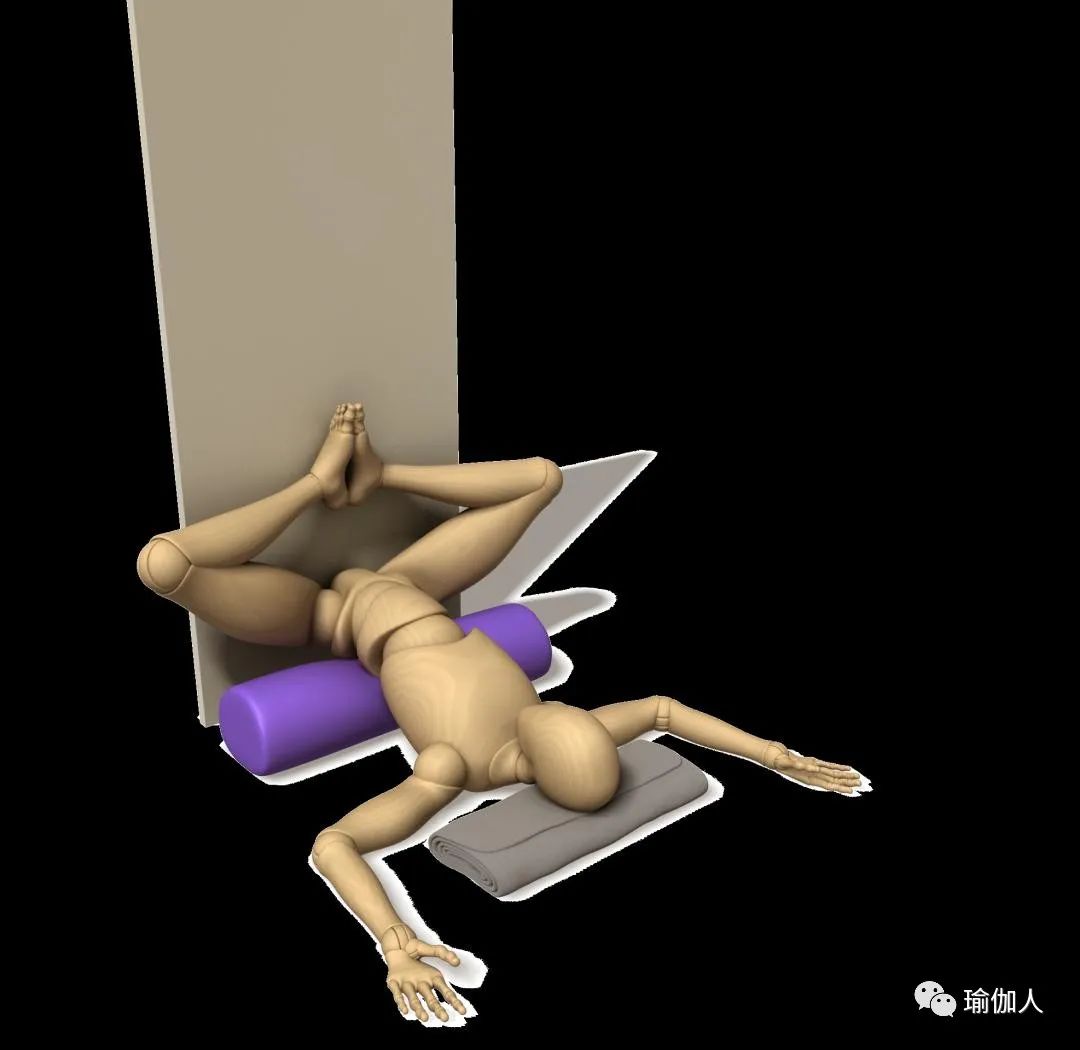
Do more dog style and four column style, can strengthen the strength of scapular belt
.
If you want to exercise the strength and softness of the hip, it is recommended to practice the monkey Hanuman style or its preparatory movements, or the warrior’s first style
.
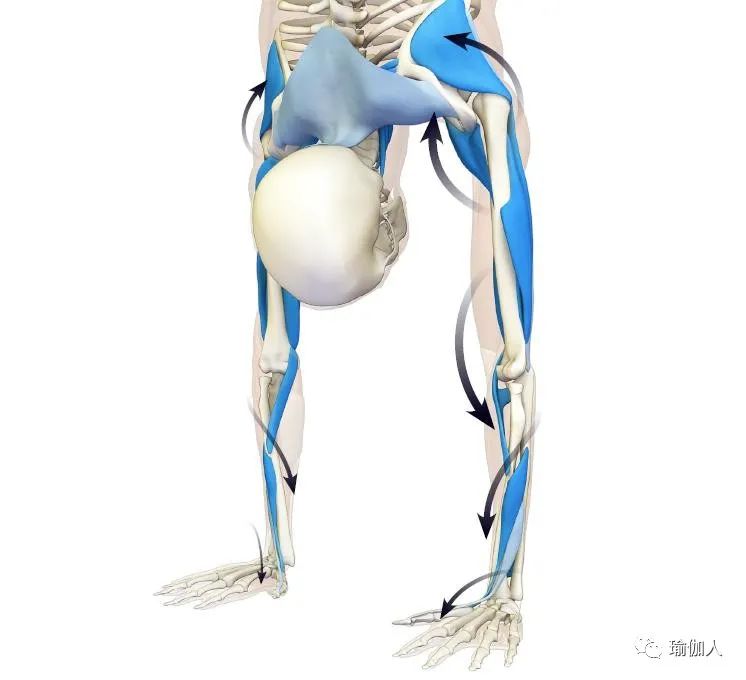
Step 1: start the gluteus maximus and lift the leg into mid air to form a hip stretch
.
Remember, there is a so-called linkage rhythm between the hip and the pelvis, and the movements of these two parts are closely connected with the lumbar spine (forming the lumbar pelvic rhythm)
.
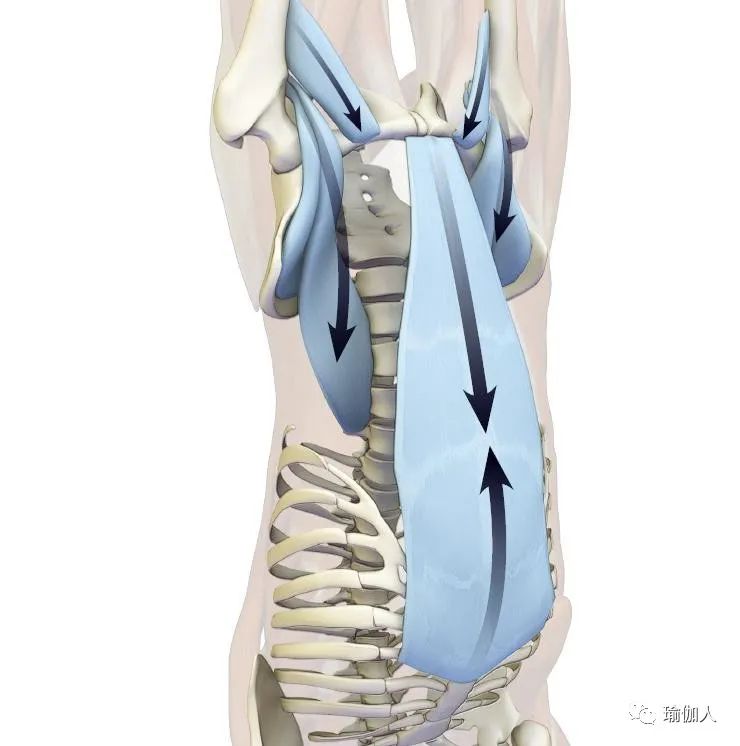
Activate the quadratus psoas in the lower back to see how it pulls the pelvis toward the top of the head
.
The gluteus minimus is located deep outside the hip, so it is suggested to activate it in a visualized way
.
When the hip joint is in the neutral position, the gluteus minimus should be activated timely to fix the femoral head in the acetabulum
.
Step 2: activate the quadratus psoas and erector spinae muscles to extend the whole back
.
Vertebrae is best a vertebral body, then a vertebral body neatly arranged, so that the congenital flexibility of the intervertebral disc can evenly absorb weight
.
The facet joints between each vertebrae are closely combined to enhance the stability of the spine
.
Step 3: bend the knuckle slightly and turn the palmar arch into a “spring” to create the elasticity of the palm
.
Open the fingers evenly, and then activate the pronator teres and pronator to pronate the forearm, which will bring the weight to the palmar mound at the base of the index finger
.
Next, activate the infraspinatus and teres minor muscles to rotate the shoulder joint so that the weight is evenly distributed in both hands
.
Note that forearm pronation is combined with shoulder external rotation through the elbow to create a spiral force
.
This action will tighten the ligaments of the elbow (ligament traction mechanism) and stabilize the arm
.
To balance the pronation, we need to activate the pronator muscles of the forearm so that the weight is evenly distributed in the palm
.
Contract the triceps to straighten the elbow and join the shoulders and hands
.
Since the beginning of the long head of triceps is located in the scapula, the action of starting triceps will rotate the lower edge of the scapula to keep the acromion process away from the humerus
.
In this way, the shoulder joint has more space to bend forward
.
The external rotation of shoulder joint will also pull the greater tubercle of humerus away from acromion process
.
Therefore, the elbow extension and shoulder external rotation movements allow more space for the humerus to be raised above the head without impact
.
Contract the anterior bundle of deltoid muscles to make the shoulder joint flexion, and extend the hands toward the ground and over the top of the head
.
Activate the superior trapezius and levator scapulae to raise the scapular band
.
Once in the pose, keep your shoulders away from your ears and relax your neck
.
Step 4 start the adductor muscle group on the inside of thigh, close the legs and stabilize the pelvis
.
Activate the extensor digitorum longus and extensor digitorum brevis to extend the toe joint
.
Activate the tibialis anterior muscle at the front of the leg to make the ankle dorsiflexion and make the sole of the foot parallel to the ground
.
Contract the fibular muscles on the outside of the leg and turn the foot outward
.
Then activate the tibialis posterior muscle to form a varus force to balance the foot valgus movement
.
Activate these two muscles together to stabilize the lower leg, ankle and feet
.
The sole of the foot opens to release pressure and stimulate the plantar chakras
.
Step 5 contract the quadriceps femoris to straighten the knee joint
.
The trick to activate the quadriceps femoris is to lift the knee toward the pelvis
.
Please note that in step 1, we will activate the gluteus maximus to do hip extension and raise the leg
.
But it also causes a slight outward rotation of the thigh, but we want the femur to be neutral and the knee to be straight ahead
.
Therefore, it is necessary to activate the tensor fascia lata to counteract the tendency of external rotation and assist the quadriceps to straighten the knee
.
The trick to starting the tensor fascia lata is to imagine using the outer edge of your foot to hold a fixture
.
This activates the abductors (tensor fascia lata and gluteus medius, which are also hip pronators) to turn the thighs inward.
.