If you are new to yoga, you may be at a loss about which genre, which asanas and how to practice.
Yoga includes vinyasa, power, hatha yoga, astonga and so on.
You can practice in a yoga studio, gym, private class or at home.
Hatha Yoga may not be your favorite style, but it is really suitable for beginners.
Hada yoga is gentle and tends to practice slowly, allowing students to focus on the correct posture and body shape to support their body.
Today, I recommend a 10 minute Hatha Yoga sequence as an introduction to yoga.
It will let you know some basic asanas.
I hope it is useful for your yoga practice.
1.
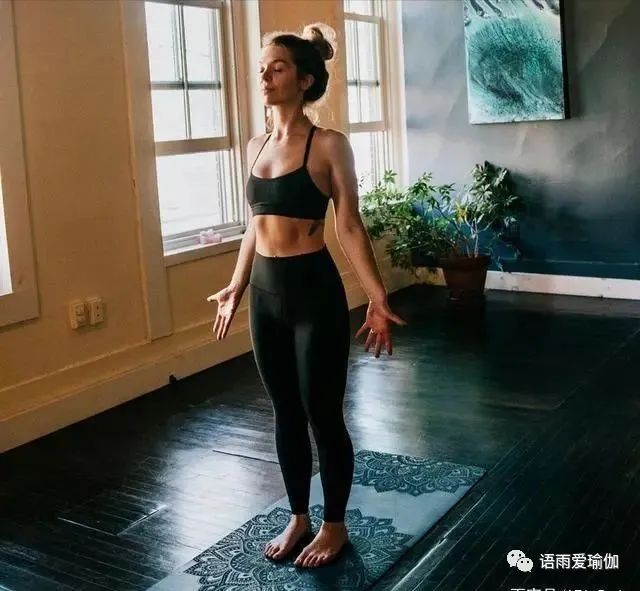
In mountain pose, the feet are shoulder width apart, the outside of the feet is parallel to the cushion surface, the thigh muscles are tightened, and the kneecap is lifted up in a straight line; Push the front of the thigh backward, sink the tailbone, shift the center of gravity to the heel, and the weight of the body is evenly distributed on the feet; Straighten the spine, lift the chest up, straighten the arms down along both sides of the body, in line with the hips, keep the neck and head straight, and look at the front.
Raise your arms to the sky and breathe in to keep your shoulders relaxed.
Stretch gently to the left as you exhale.

Next inhale back to the center, then exhale to stretch to the right.
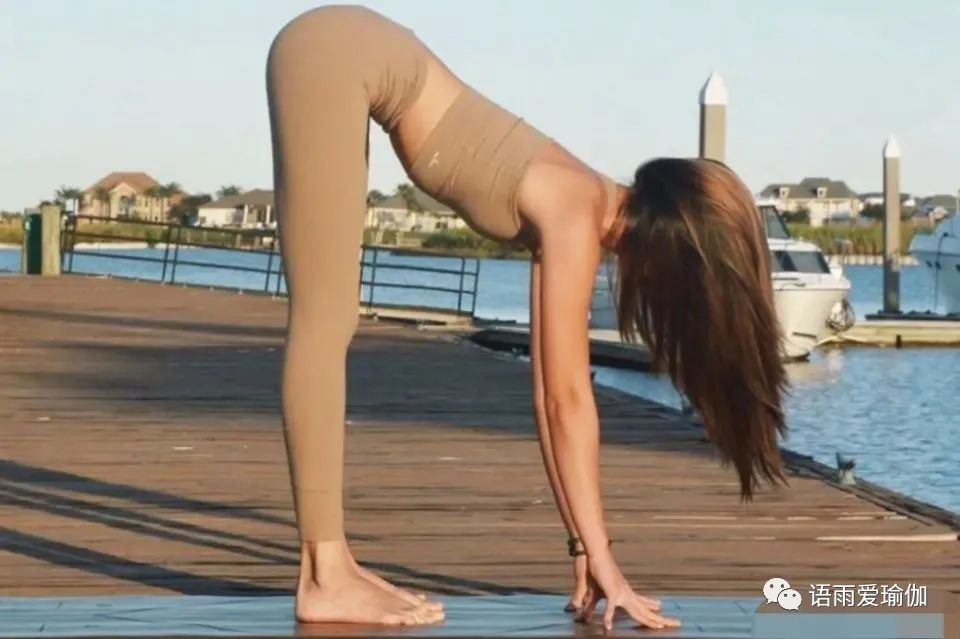
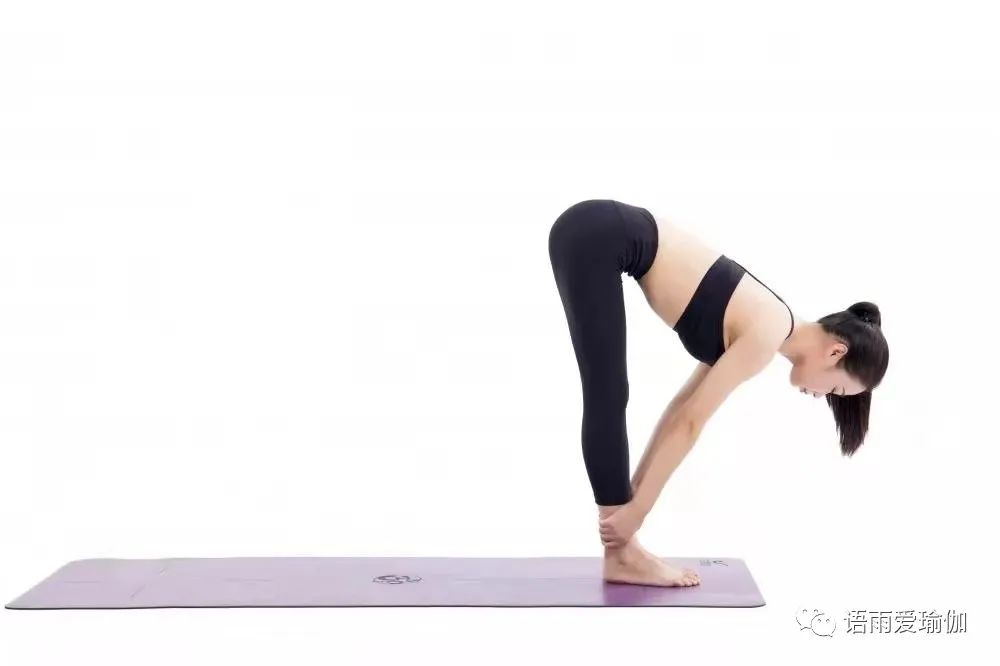
2.
Stand, bend forward, and exhale when folding forward, so that the arms, head and neck fall to the ground.
Keep breathing three to five times and relax.
Keep the knees slightly bent and focus on lengthening the spine.
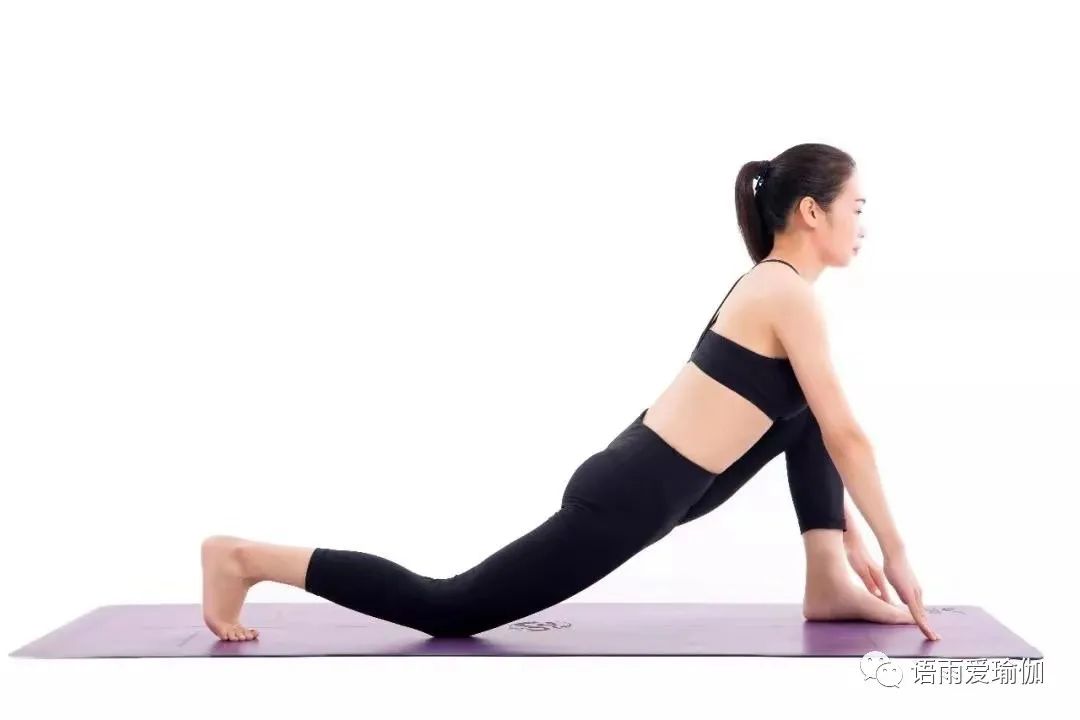
3.
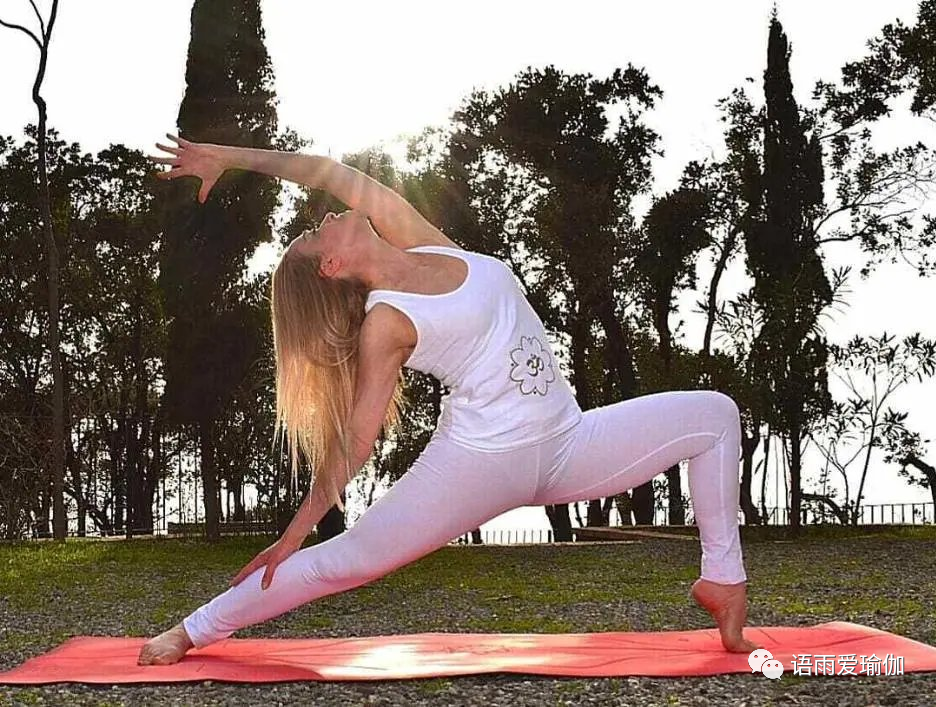
Low Sprint (right side): step your left foot backward, put your left knee on the ground, and put your hands on the ground to support your body.
Keep your right knee above your right ankle.
Inhale, raise your body and extend to the top of your head.
Exhale, sink forward and relax your hips to the ground.
The arms can be placed on the ground, or on the hips, or can be lifted up, where you keep breathing three to five times.
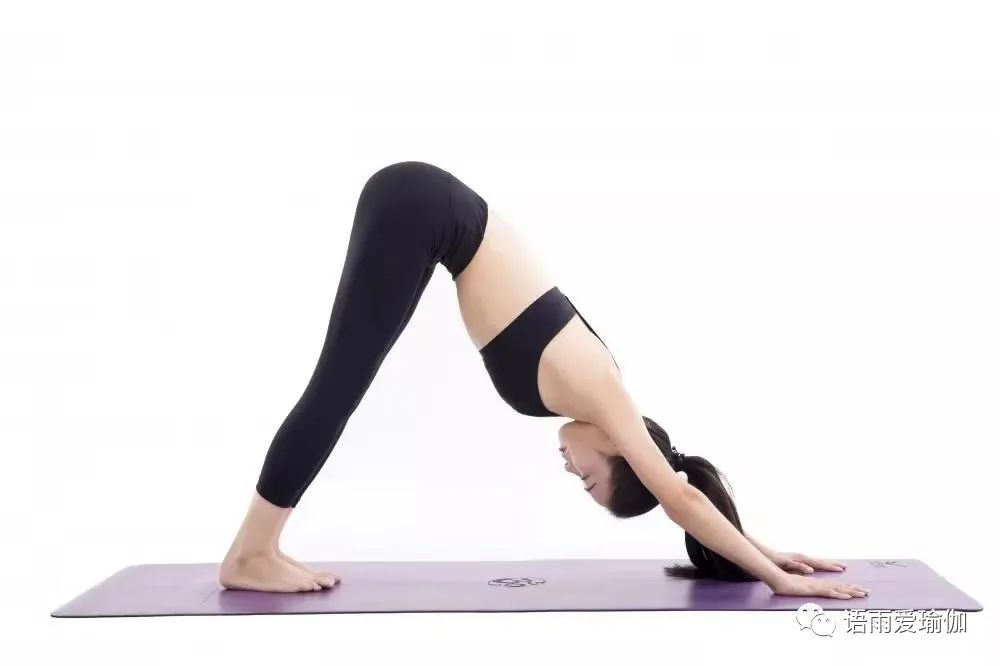
4.
In downward dog pose, put your hands on the ground and your right foot back into downward dog pose.
Open your fingers, bend your knees slightly, and extend your sitting bones upward into the sky.
The body is in an inverted “V” shape, extending the spine, keeping your head down and breathing three to five times.
5.
Low Sprint (left side) start in downward dog pose, raise your left leg, exhale, and move your left foot forward between your hands.
Put your right knee on the ground, then enter the low sprint and keep breathing three to five times.
6.
Bend and breathe deeply before standing, and lift the right knee off the ground.
Compact the left foot to gently pull the right foot forward.
Then enter the standing forward bend and keep here for 3 to 5 even breaths.
7.
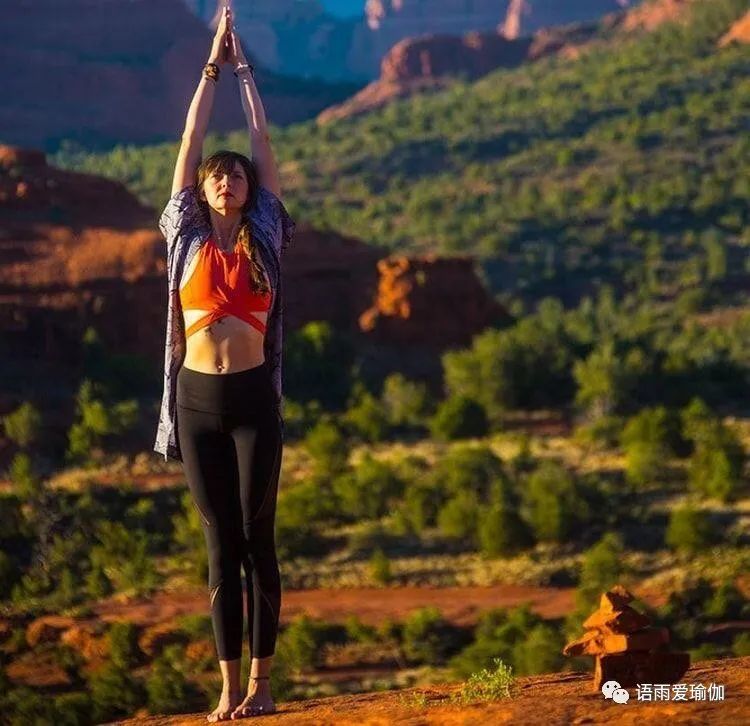
Inhale deeply in the mountain pose, put your weight evenly between your feet and lift your body slowly.
Let your arms follow and extend your hands to the sky.
Exhale, release your hands to either side of your body and return to mountain pose again.
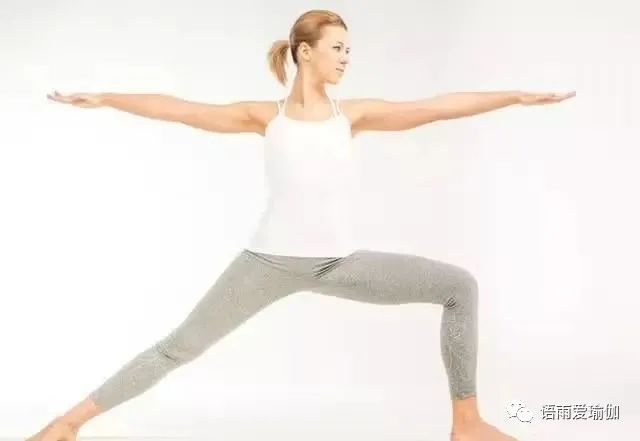
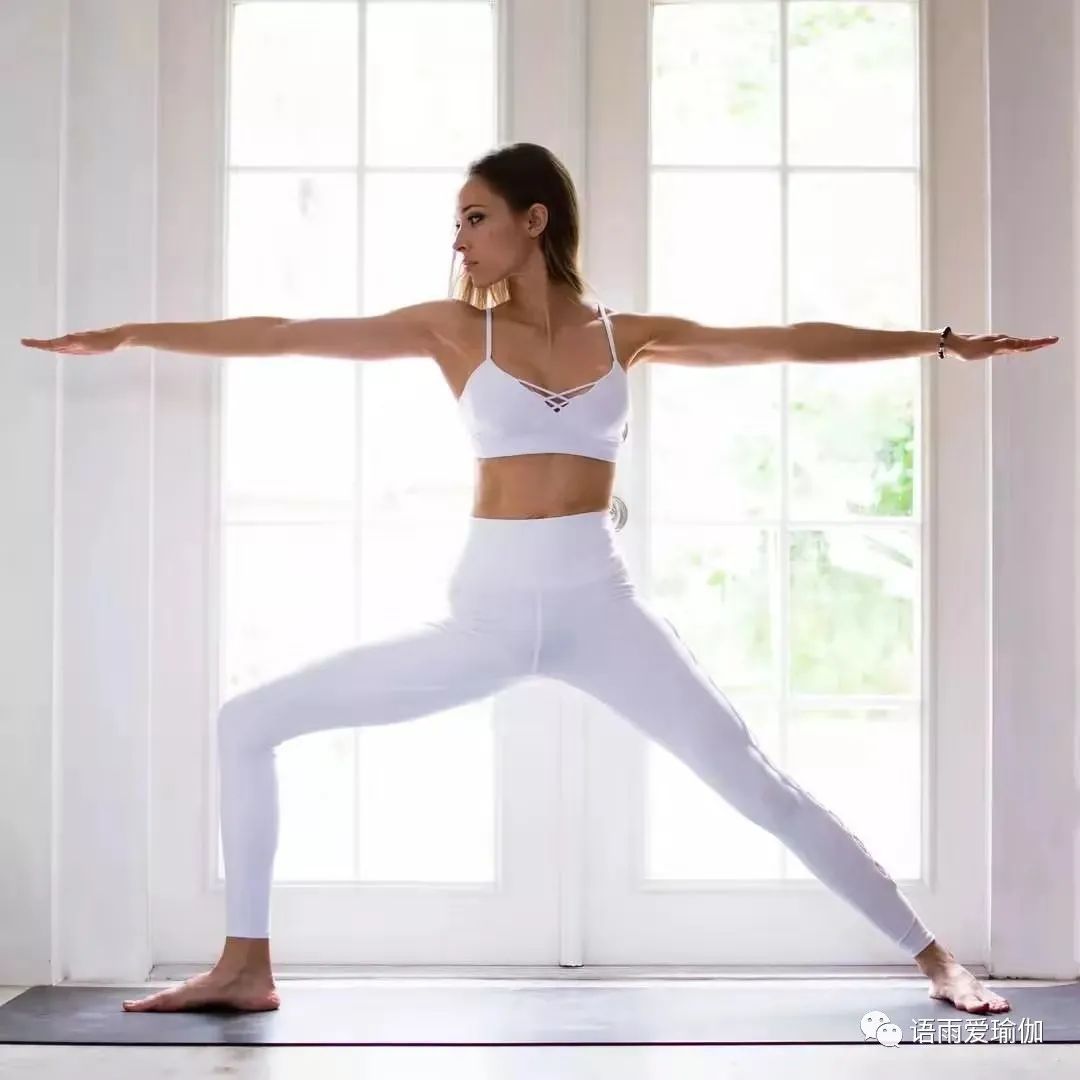
8.
Warrior II (left) step back with the right foot and turn the right toe so that it is parallel to the back of the cushion.
Move the left toe forward, bend the left knee, and lift the arm up so that it is parallel to the ground.
Enter Warrior II.
Keep breathing three to five times.
9.
Anti Warrior (left side) inhale from Warrior II, put your right hand on your right leg, and then extend your left hand to the sky to enter the reverse warrior pose.
Stretch back to extend the front of the body.
10.
When soldier II (right) straightens his legs, put his arms back parallel to the ground.
Face the right toe towards the front of the cushion.
Exhale as you bend your right knee into Warrior II on the right.
Take three to five deep breaths and look at your right fingertip.
11.
Anti Warrior (right side) inhale, extend your right arm to the sky and enter the reverse warrior pose on the right side.
When exiting, gently bring your left foot to the front of the cushion, lean against your right foot, and then relax your arms to both sides.
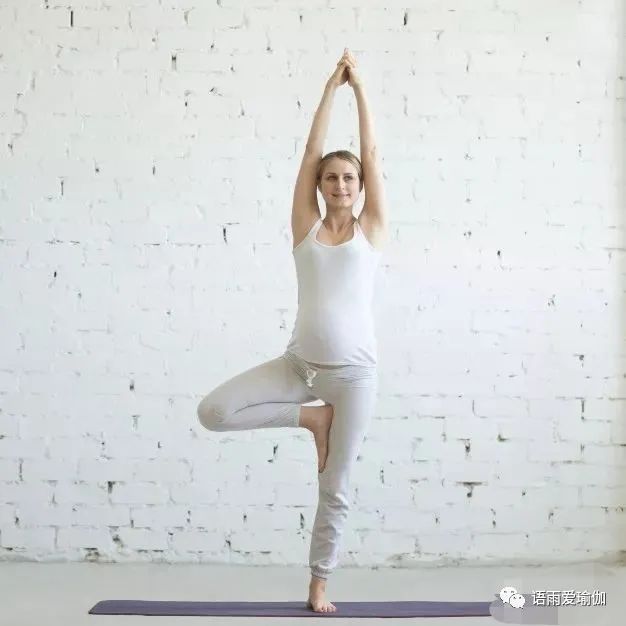
12.
In the tree pose, put your hand on your hips, find balance on your right foot, and put your left foot on your ankle, calf or thigh.
When you reach into the sky, find a staring point.
Keep breathing here three to five times.
When finished, slowly place your left foot on the ground and repeat the tree pose on the other side.
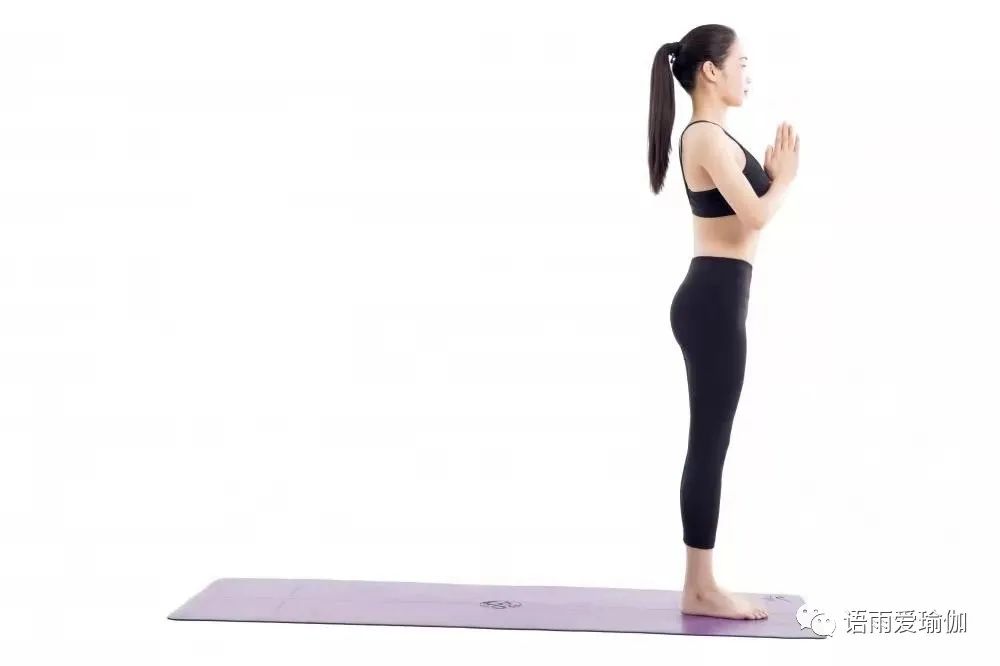
13.
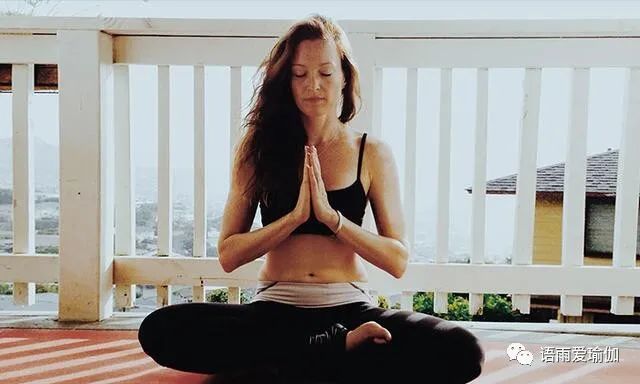
Return to mountain pose with feet as wide as hips and hands in front of your chest.
Take a deep breath, close your eyes and take some time to breathe here.
At the end of the exercise, take a moment to imagine how to bring your consciousness from the mat to life.
Then finish the exercise.
This sequence can be practiced once or several times in succession.
Try to enter the position slowly and focus on the subtle movements of the body.
Enjoy the quiet moments gained from this 10 minute exercise.
Most importantly, let breathing be a guide.
Inhale and exhale to guide you into, through and out of each position.
Start slowly, be patient and find an exercise that makes you happy to step on the mat!..