Theoretically speaking, it sounds easy to practice yoga at home, but even experienced practitioners are sometimes uncertain about which poses to choose and how to combine them.

It takes many years to master the subtle skills of sorting, but you can still learn some basic building blocks that allow you to learn how to arrange your own sequences and practice confidently at home.
The best way to arrange your own family sequence is to familiarize yourself with the basic template that can be modified in many ways.
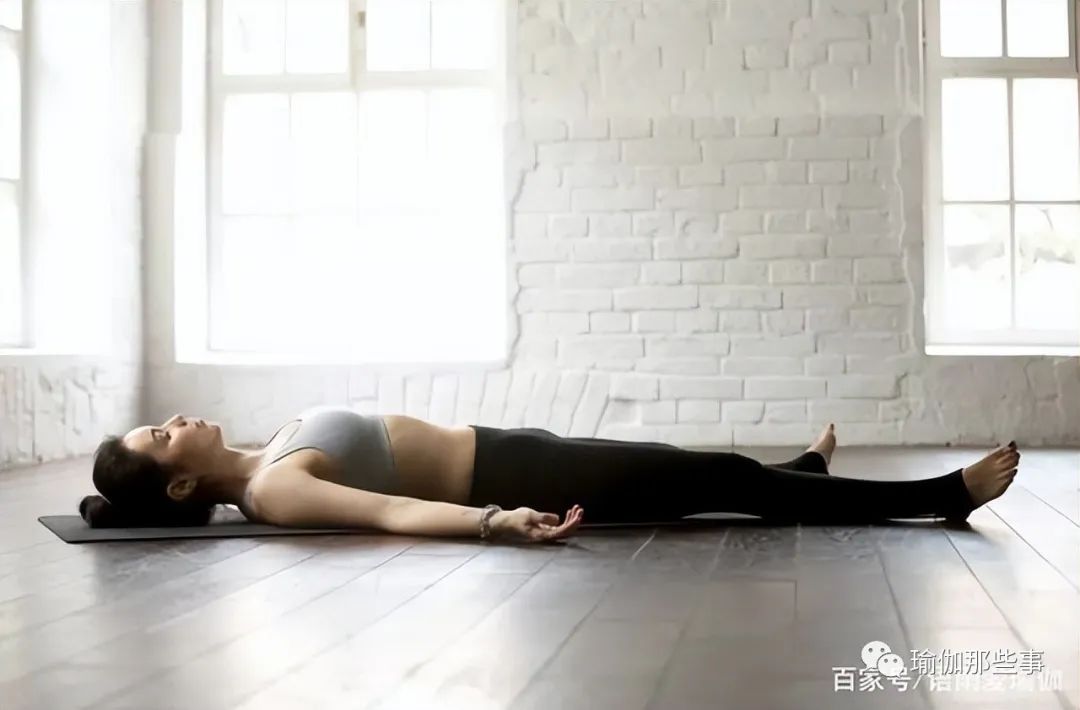
Next, we will introduce the construction template of Yoga sequence composed of eight pose types: open pose, Sun Salutation, standing pose, handstand, back bend, twist, forward bend and closed pose, and end with body spreading pose.
In these basic sequences, these categories are organized according to their intensity and the preparation required.
Each pose prepares the body and mind for the next pose, so that your practice flows seamlessly together like its starting point, middle and end points.
By following this method, you will create a sequence: warm up slowly and safely, increase the intensity before reaching the peak position, and then slowly return you to a quiet, relaxed state.
Through the following postures, you can start to develop exercises that suit your mood and needs.
You can change the pose in each category.
If time permits, you can extend or shorten the practice time.
Once you have a basic understanding of the different pose categories and begin to notice their impact on your body, you can begin to sequence yourself.
The beginning position of the start position sequence awakens the major muscle groups, allowing you to transition from a busy day to a more internal practice.
Tip: it can include some body exercises that gradually warm your body.
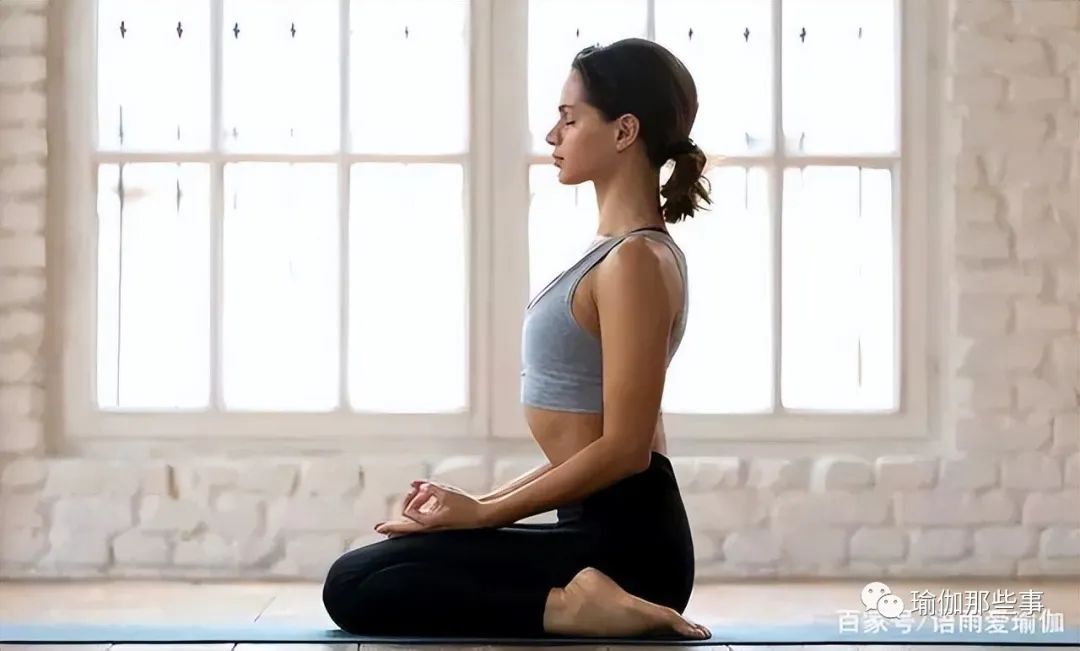
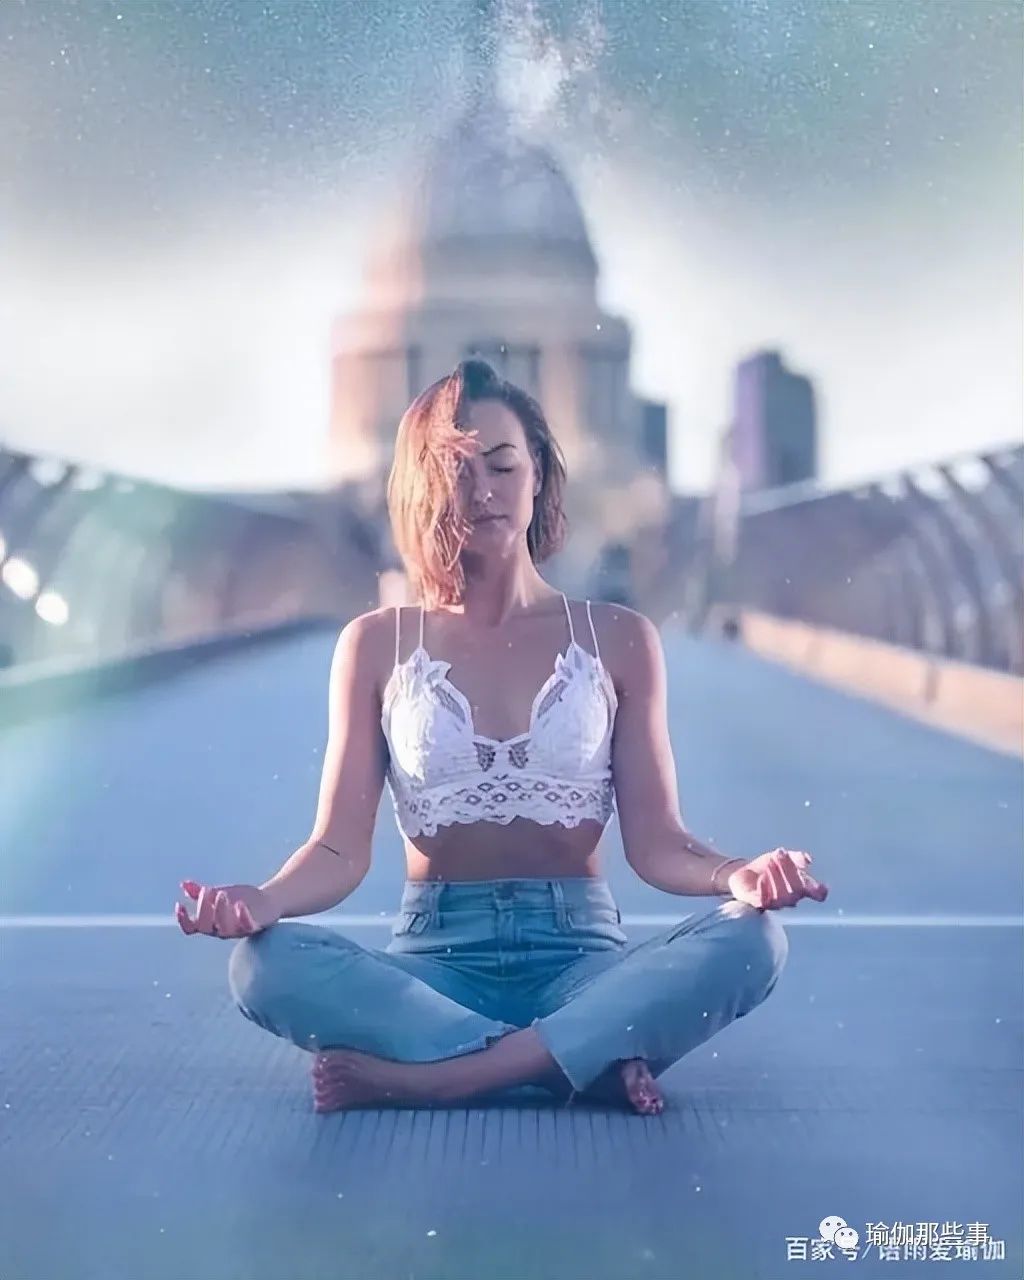
One of the easiest ways is to start with a few minutes of sitting meditation.
Next, through some postures, slowly heat up the main muscle groups of the body.
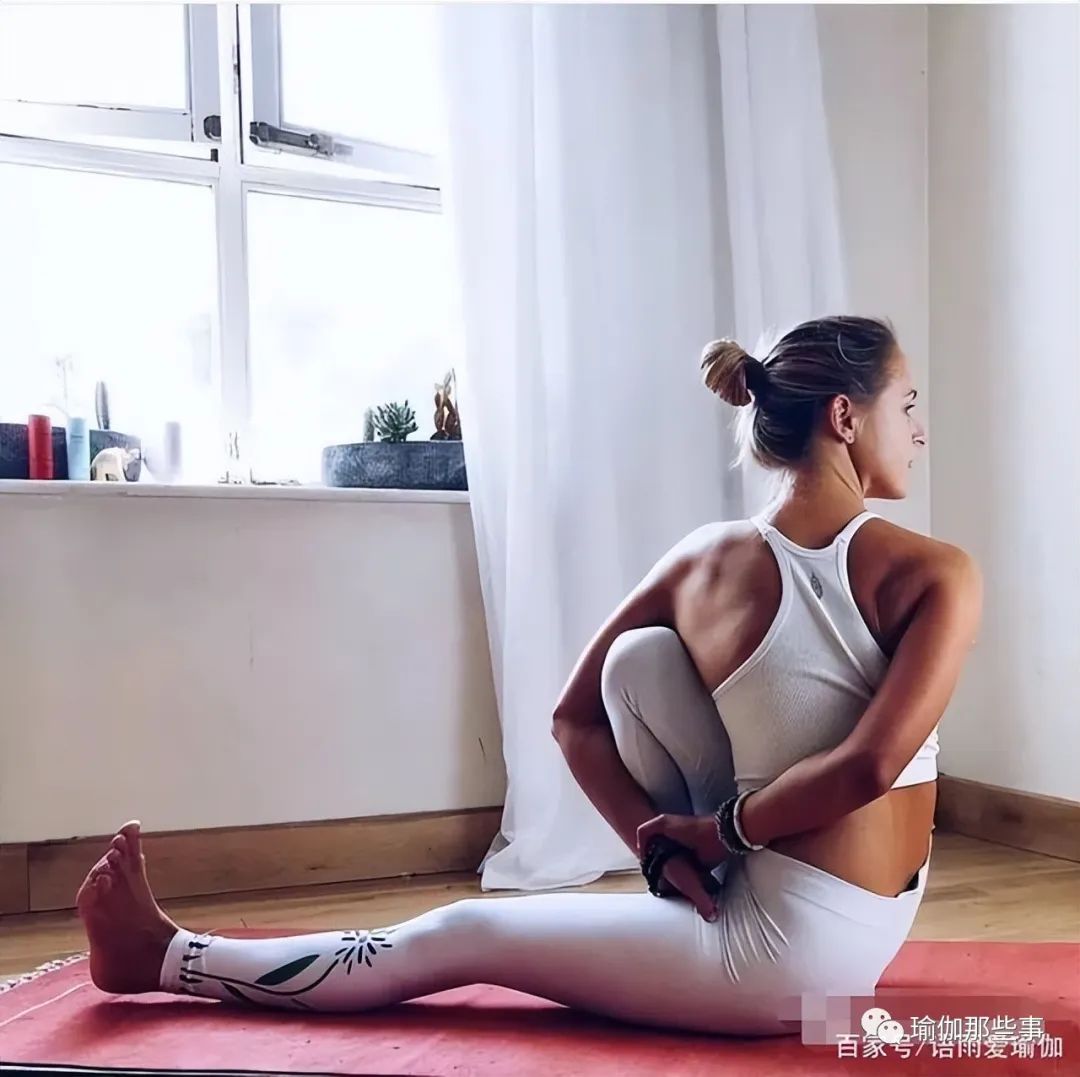
Your exercise requires a lot of hips, shoulders and spine, so it is best to use two to four positions to gently wake up one or more of these areas.

In this example sequence, as you sit in heroic pose, you will focus on opening your shoulders, which stretches the front of your thighs and gives you a stable position when you open your upper body.
But more important than preparing specific parts of your body at this stage is to start a full transition and prepare your body and mind.
Sun worship the sun worship combines breathing and movement to energize the whole body.
Thorough exercise calms the mind and prepares it for the next pose.
Tip: customize your exercise by determining how fast to practice and how many rounds to take.
If you want to start slowly and focus on extending the front of your hips, please practice the Sun Salutation first, including high sprint and low sprint.
If you want to do more intense exercises, you can start with the Sun Salutation A and B.
Each movement in the Sun Salutation should continue to inhale or exhale.
Depending on your time and energy, you can change the number of sun salutations, as little as 1 or 2 rounds, or as much as 15.
Before standing, it is best to practice the sun salutation to thoroughly heat your body, so that your legs and hips are ready.
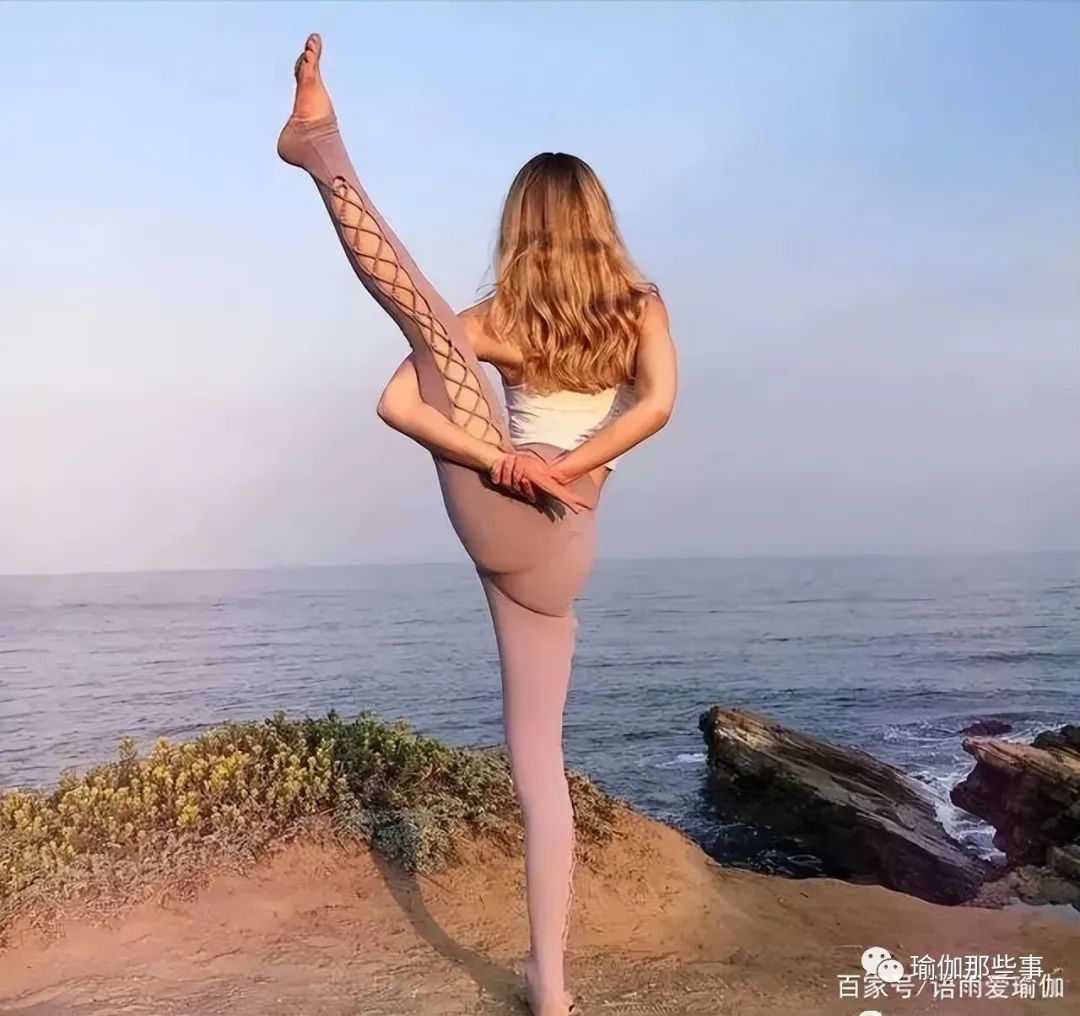
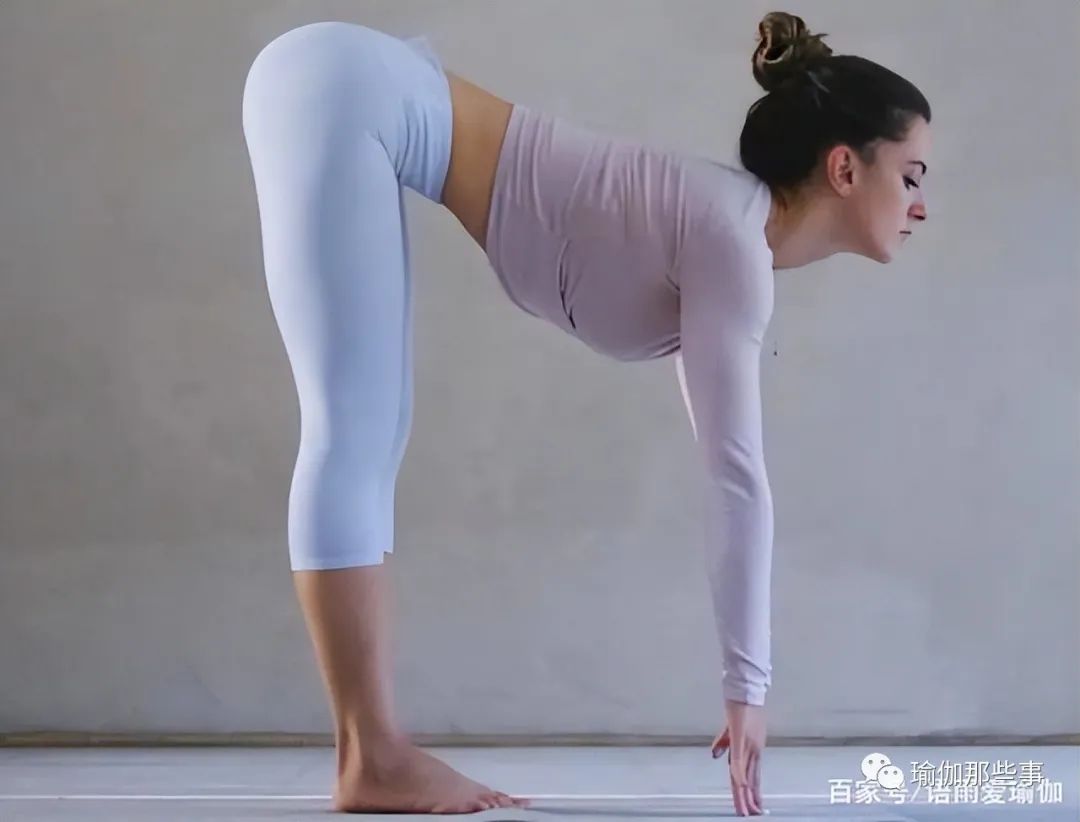
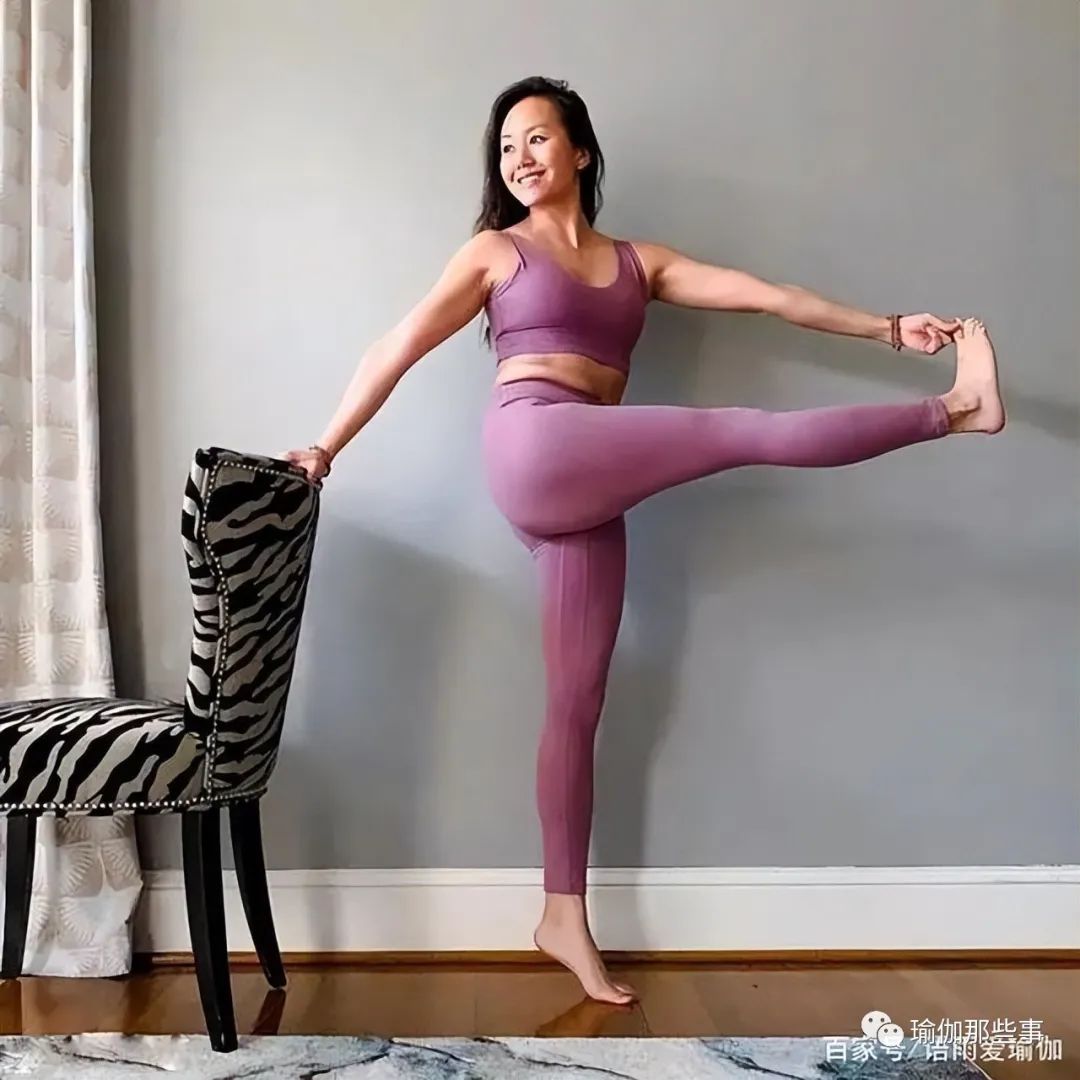
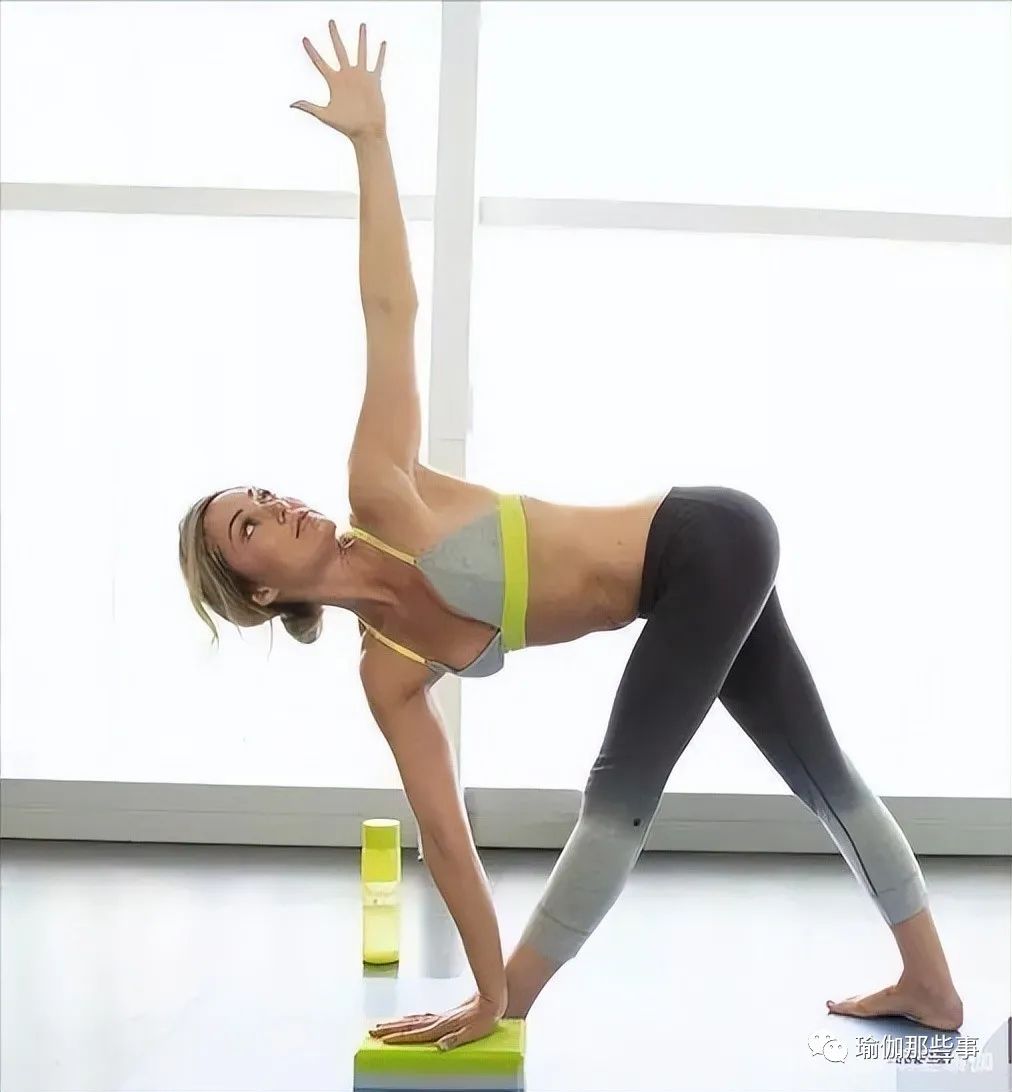
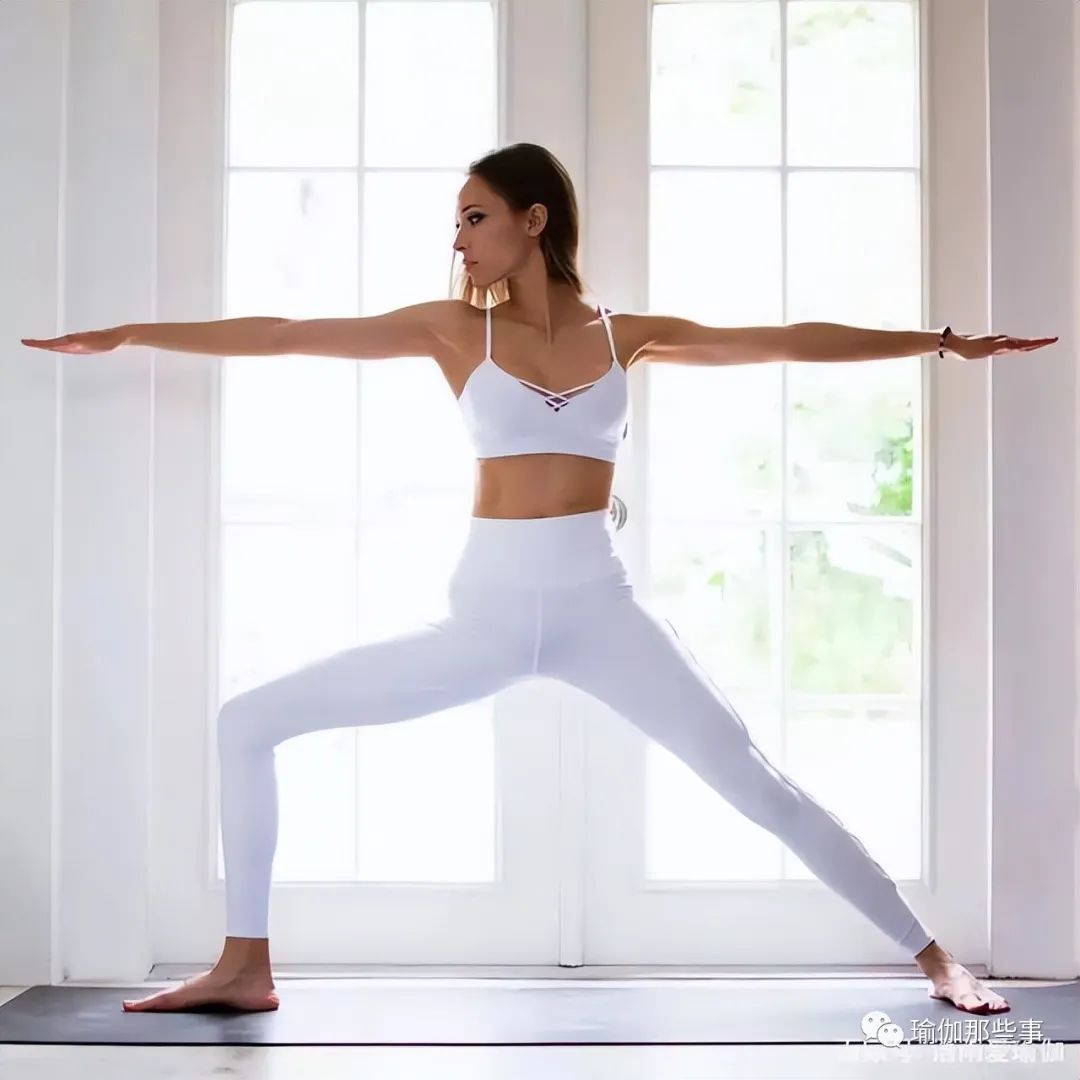
Standing posture standing posture produces strength and flexibility throughout the body.
They act on major muscle groups, such as the quadriceps, glutes, hamstrings and core muscles.
Standing postures usually precede backward bends, twists, and forward bends because they are very effective in preparing for these postures.
Tip: it is best to include at least four standing positions in each sequence.
There are many ways to arrange the order of the poses you choose, but a great way is to choose poses that complement each other.
For example, warrior I and Warrior II rotate the pelvis in different ways, so when they are combined, they produce balanced movements.
Similarly, triangles and twist triangles complement each other by stretching opposing muscle groups.
Another method is to adjust the standing posture according to the posture you will practice later.
For example, if you want to focus on twisting in your practice, you can choose a standing posture that includes twisting, such as twisting triangle and side angle twisting.
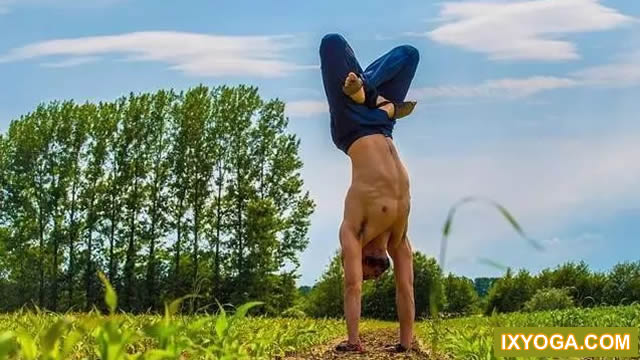
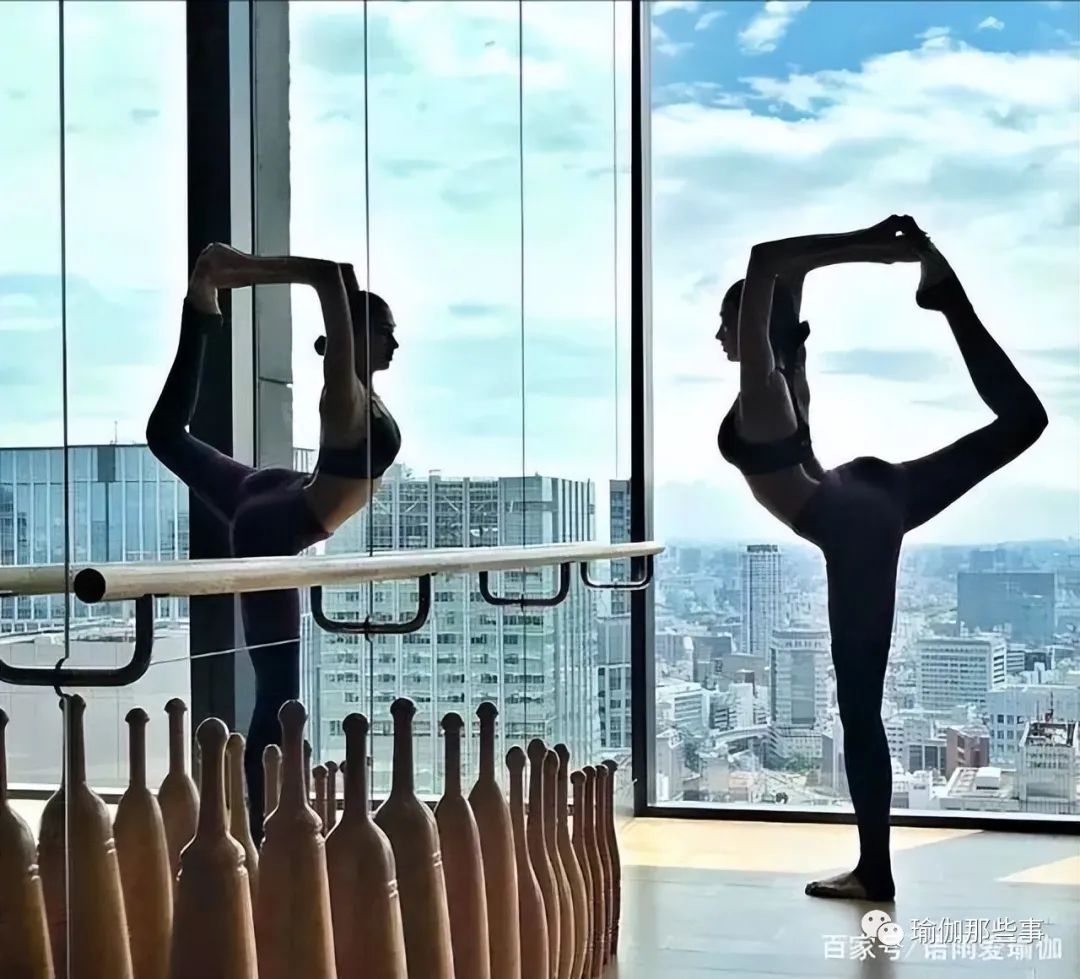
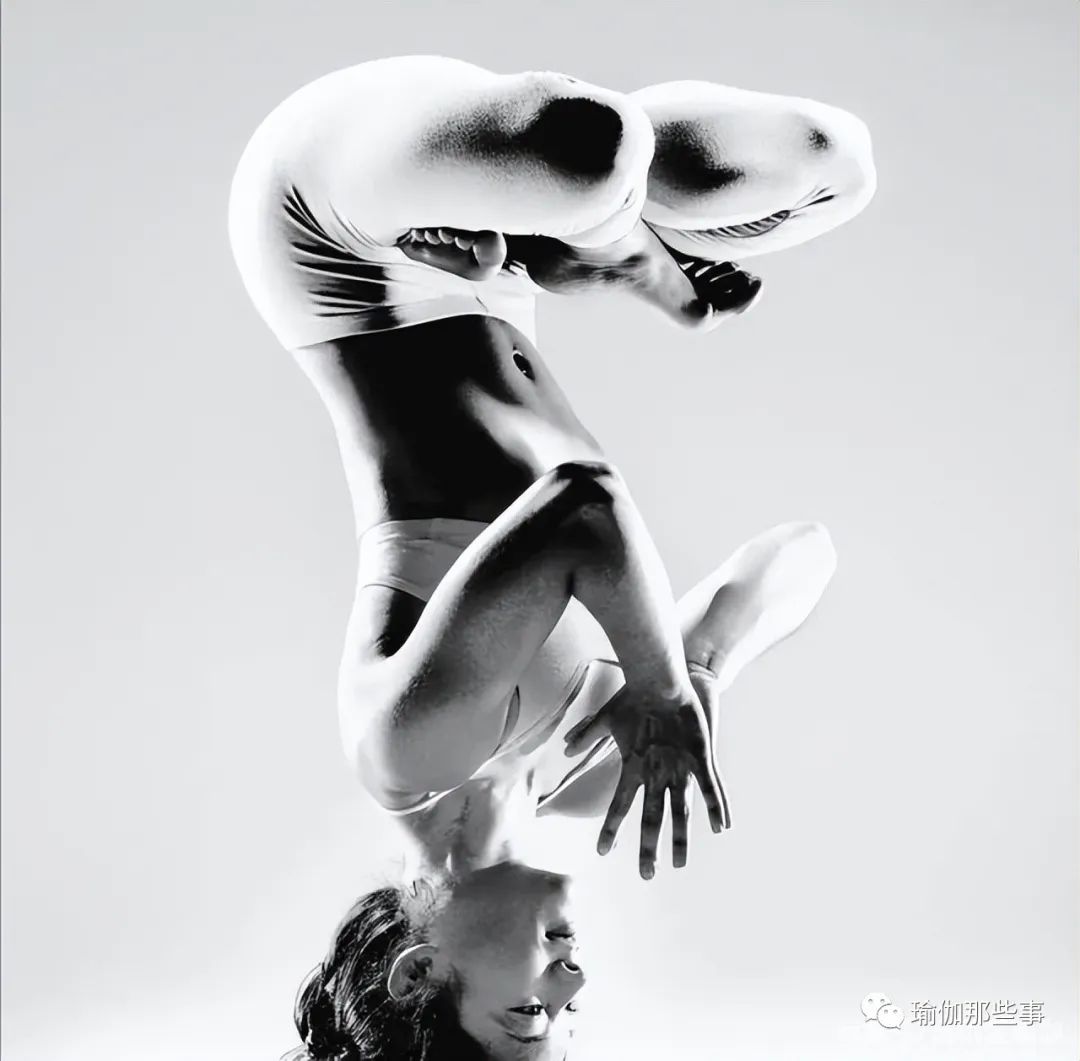
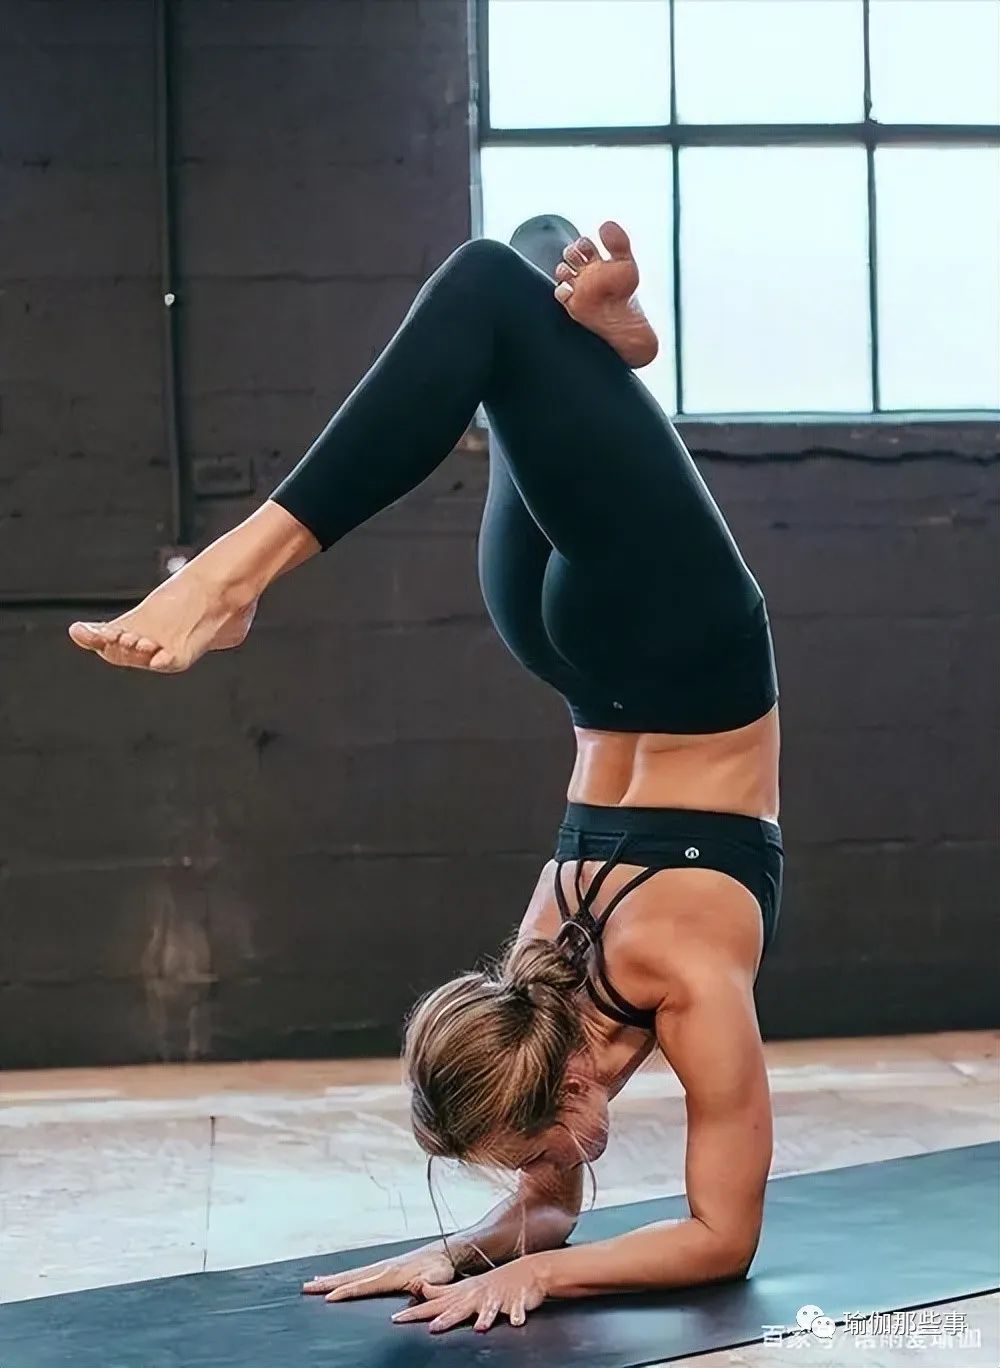
Handstand head handstand, forearm handstand and handstand extend and strengthen the upper body, and promote the blood circulation of the upper limbs.
These postures stimulate the nervous system and have high demands on the body.
Therefore, they can be your peak posture for practice.
(although the shoulder handstand is an handstand, it is much milder, so in this sequence, it is practiced at the end of the cooling position.) Tip: if you are a beginner, it is important to practice under the guidance of an experienced teacher.
If you are not ready for handstand, please skip this category or choose downward dog pose.
Depending on your time, strength and comfort, you can repeat handstand and forearm balance several times.
If you are practicing handstand, please do it once in each exercise and keep comfortable.
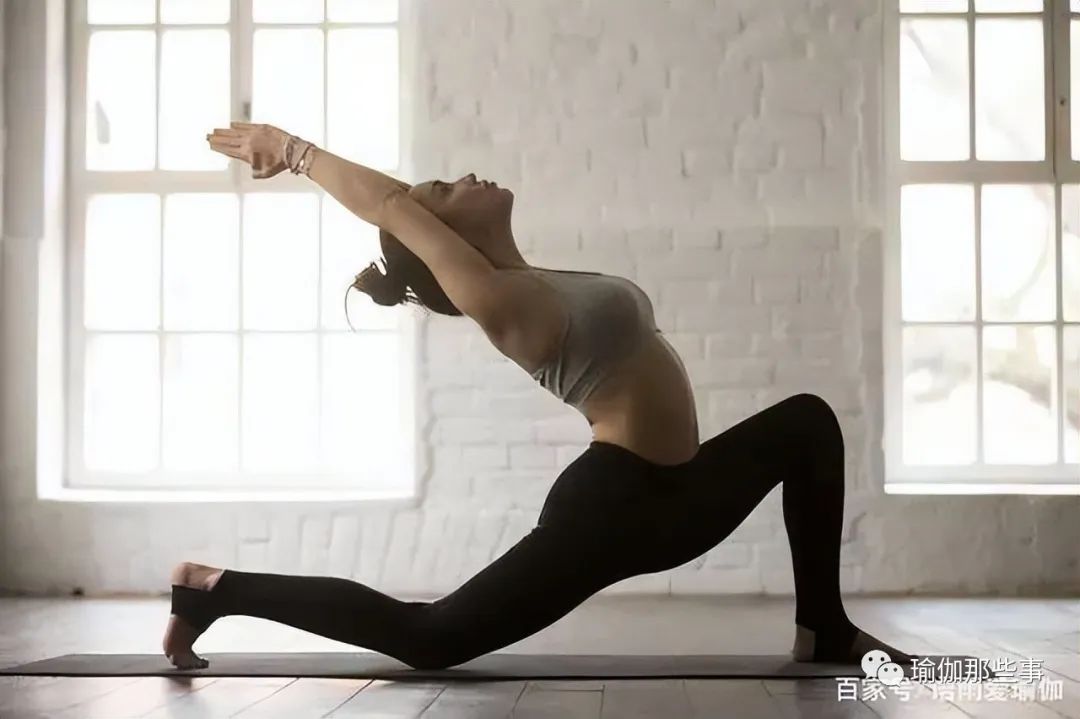
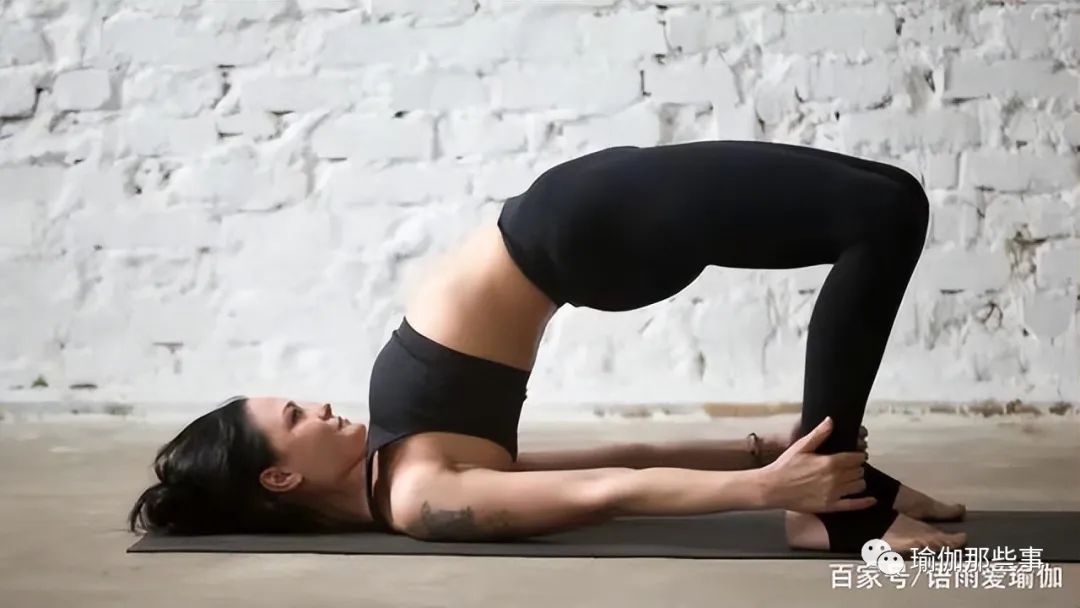
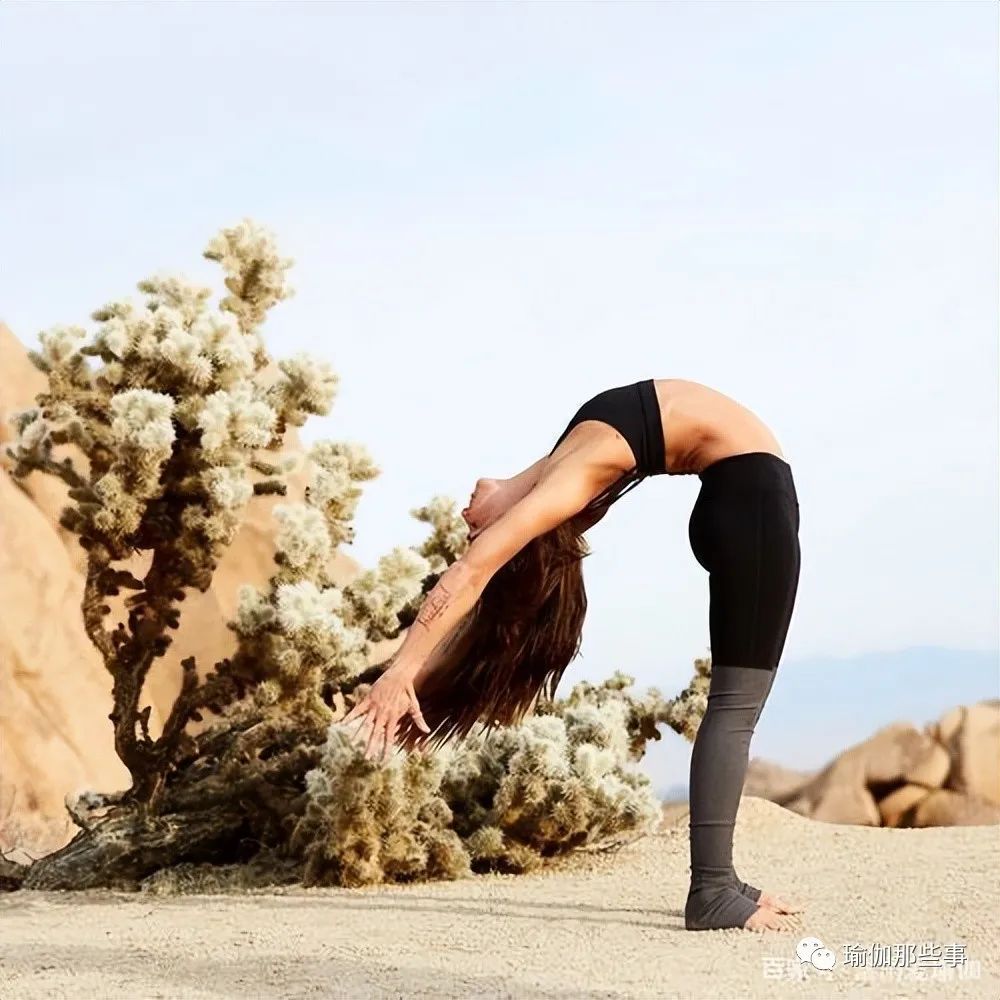
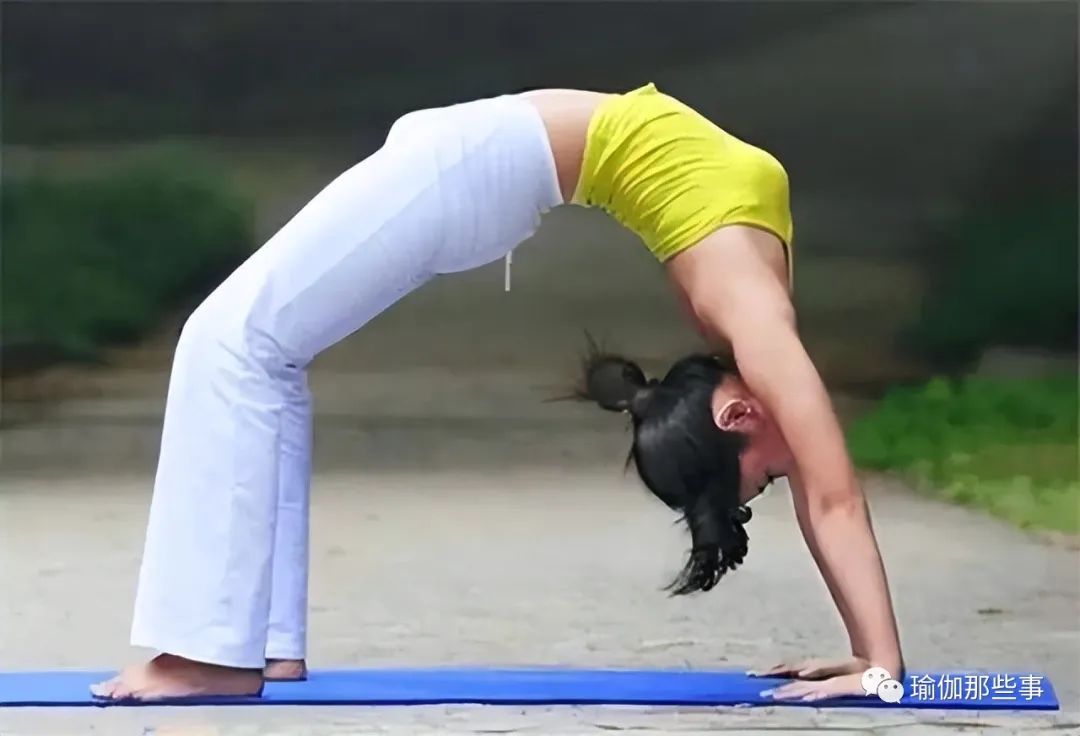
Back bending back bending stretches the front of the body, strengthens the back of the body, and balances the effects of prolonged sitting.
Most people will find the back bend position exciting, so if you want to be energetic, you can choose the back bend position in the exercise.
Technique: start with the back bend of the prone position, such as locust or cobra.
The prone position can strengthen and warm the spine muscles, so it can be well prepared for the supine position, such as the bridge, which can produce a greater range of movement in the shoulders, spine and hips.
It is best to repeat each pose twice or three times, as most bodies require several rounds to fully open.
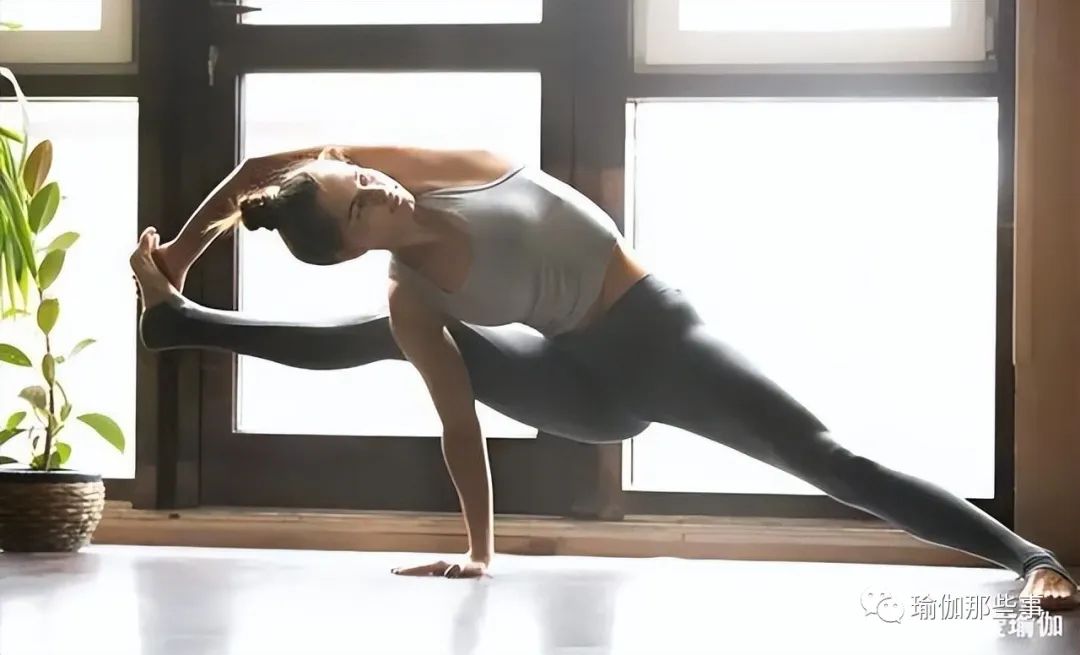
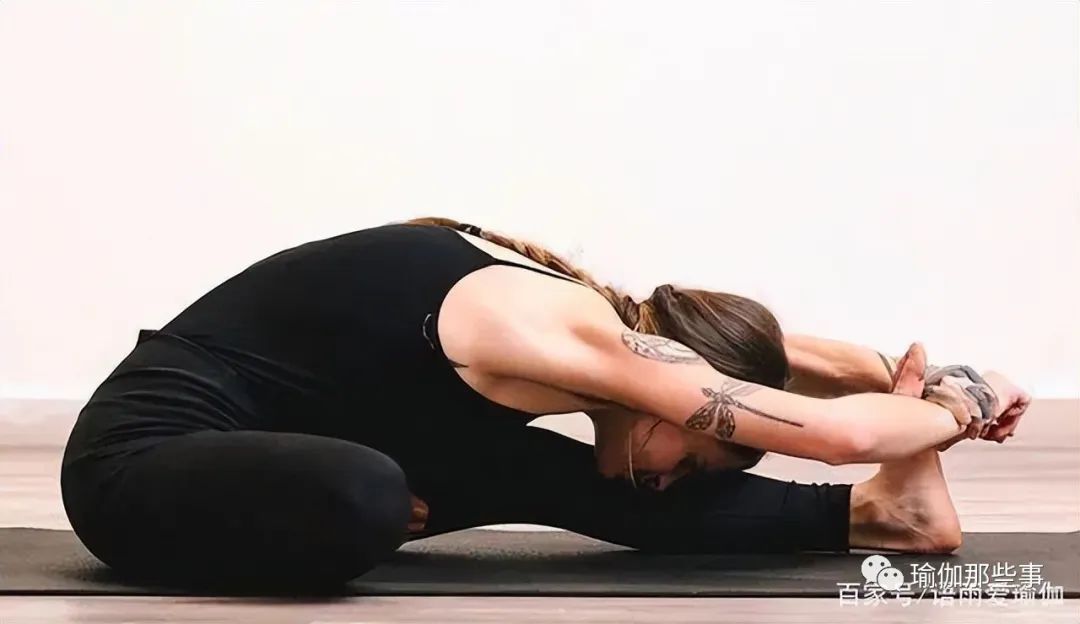
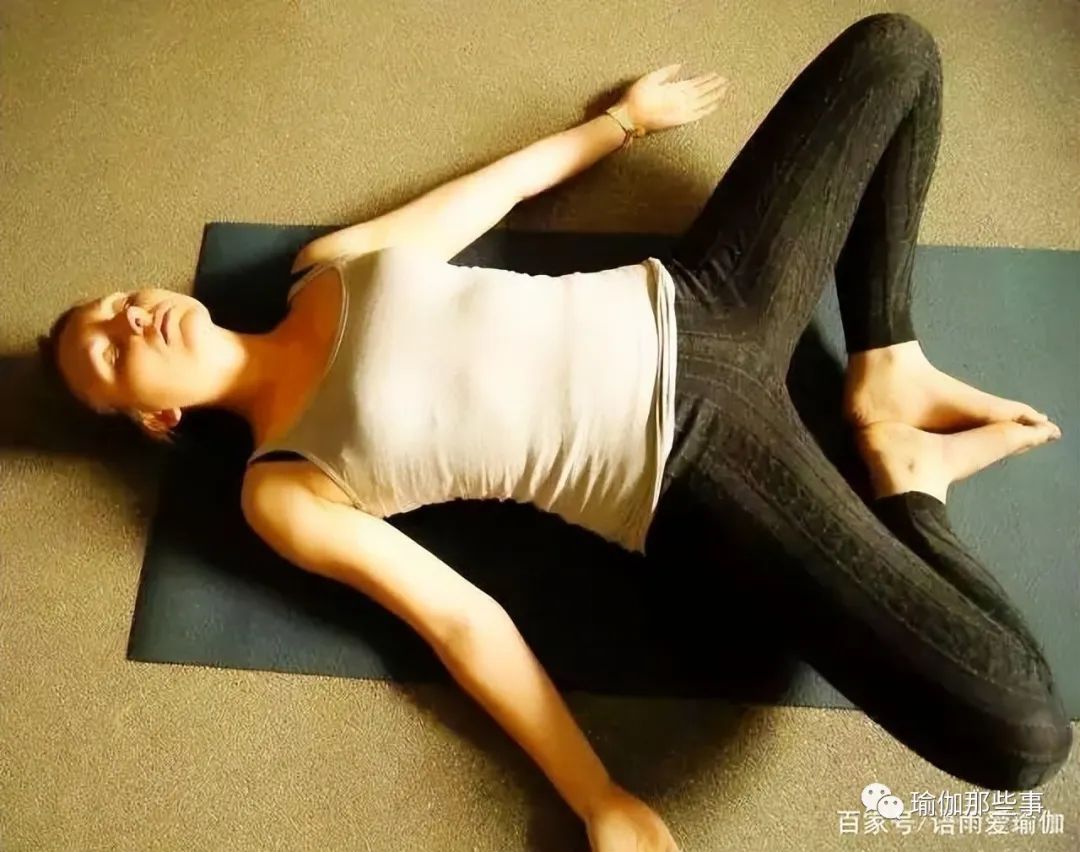
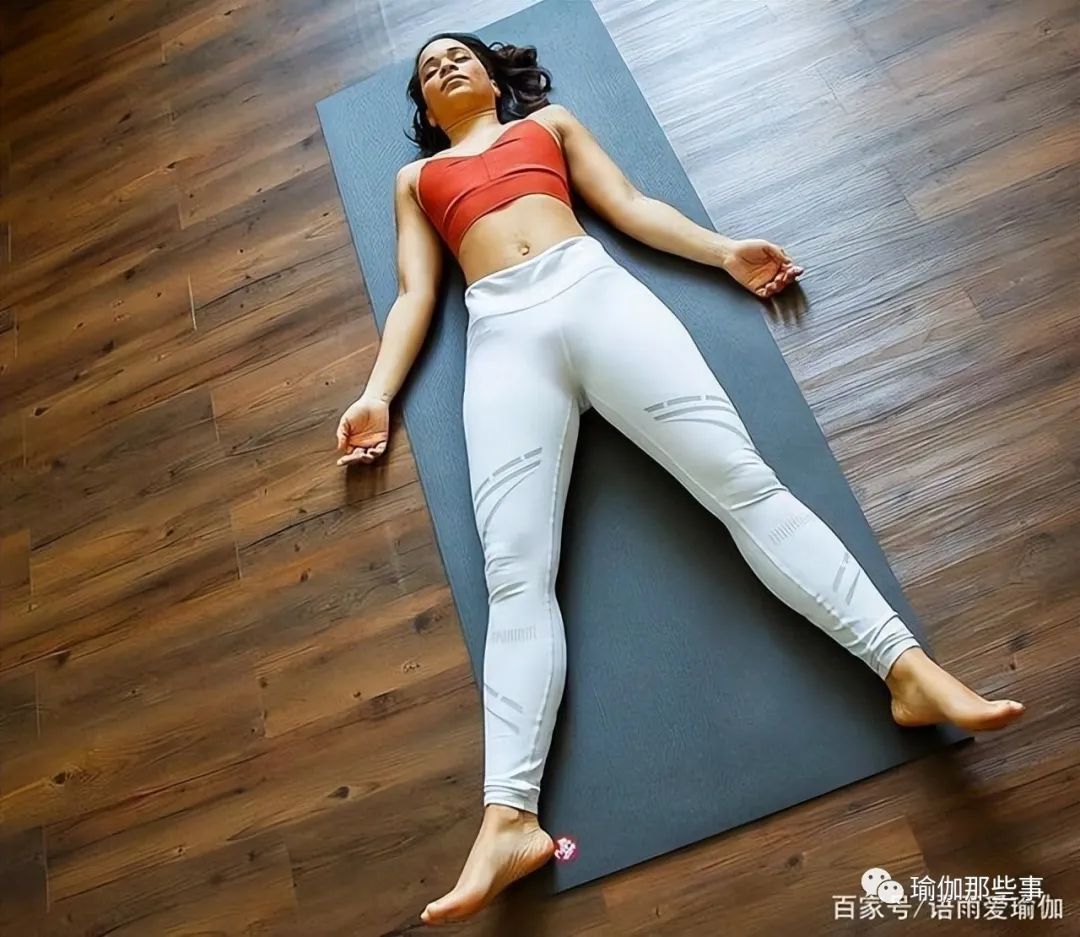
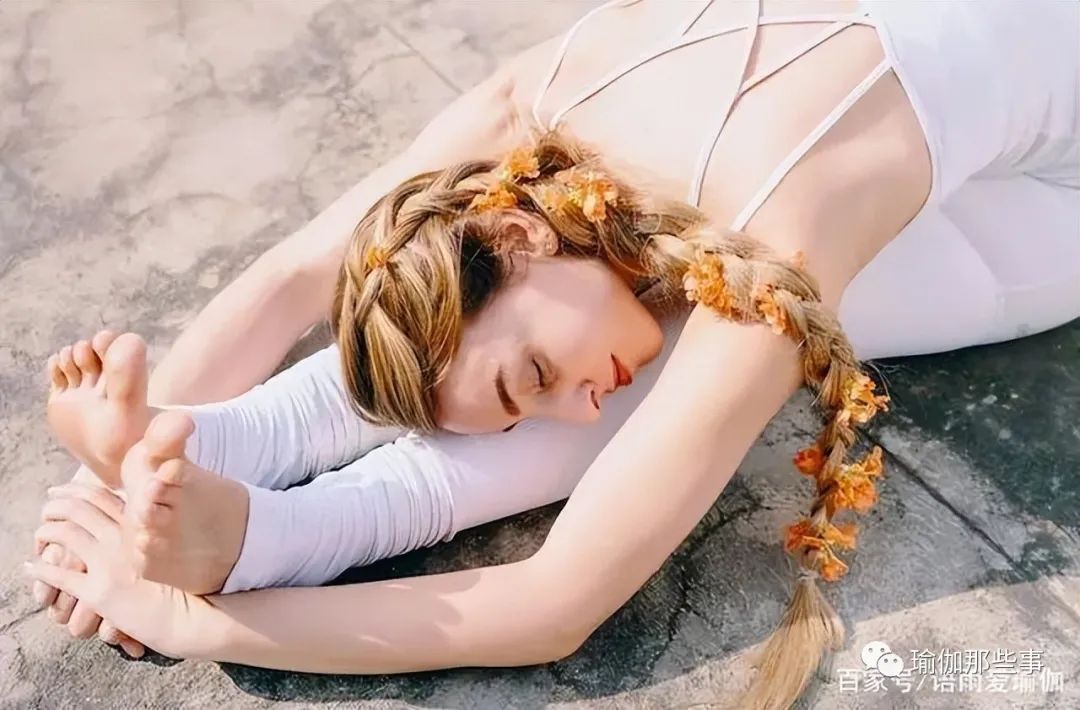
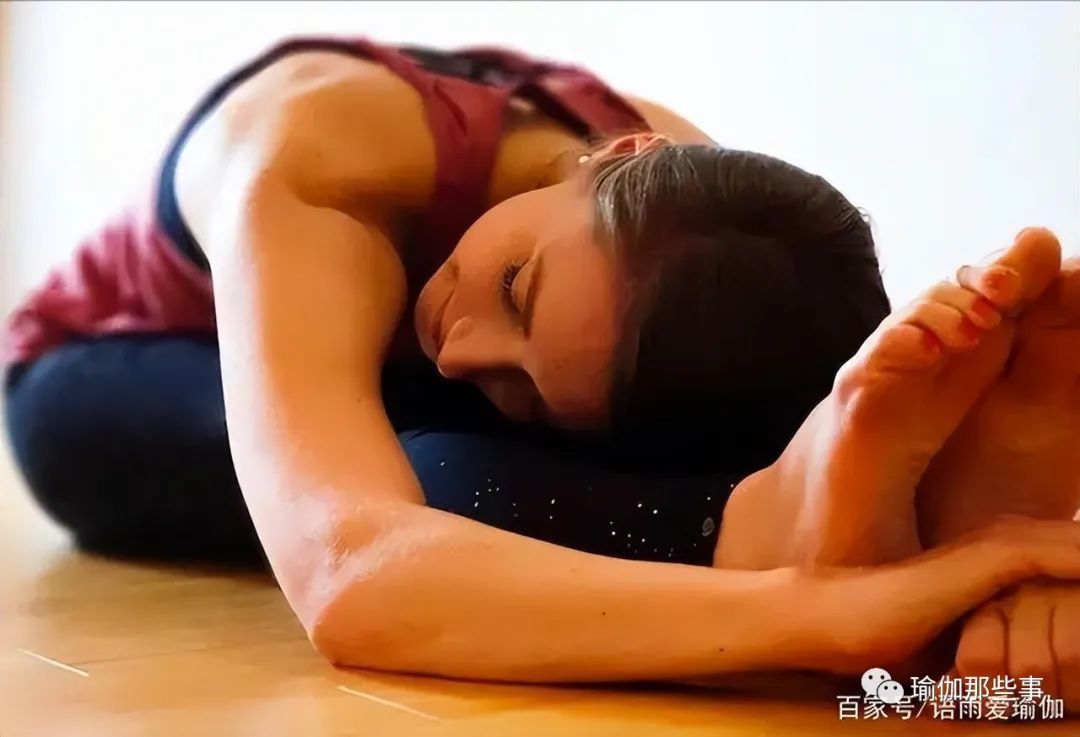
The end pose twist back bends relieve the pressure on the spine, hips and shoulders, and gently stretch your hips and shoulders.
Twisting creates balance.
Placing them between retroflexion and anterior curvature helps the spine transition between these two extremes..