Most yoga practitioners regard handstand as their dream.
On the one hand, handstand is known as the “king of Yoga Postures”, which has many benefits to the body.

It can not only help the human body eliminate tension and improve the immune system, but also prevent breast, uterus and hip sagging.
It also has a good effect on the prevention and treatment of low back pain and sciatica.
In addition, handstand can also promote blood circulation, return blood to the brain and face, restore brain vitality and nourish facial skin, so as to achieve the effect of beauty and anti-aging.
Medical experts spoke highly of handstand exercise: “five minutes of handstand is equivalent to two hours of sleep”.
Therefore, it has always been the secret weapon of Yoga people’s “frozen age”.
If you want to look younger, you must practice handstand more.
There are about 8.4 million kinds of yoga postures, among which handstand can be regarded as a milestone for everyone to improve their practice on the Yoga road.
Many people flock to handstand, but more people stay away from it, afraid of falling down and bad impact on their body.
Most of the reasons for the failure of handstand are the lack of core strength and upper body strength.
In fact, as long as we master the key points of handstand, handstand is by no means as dangerous and difficult as it seems; Therefore, in the early stage of handstand practice, Jia people can first strengthen the core and waist and abdomen strength by practicing the following movements.
1.
Half boat up and down as a group, adhere to 10-15 groups.
2.
Boat up and down as a group, adhere to 10-15 groups.
3.
Supine leg lifting up and down as a group, adhere to 10 groups.
4.
Lower dog to keep breathing in 5 groups.
Capable Jia people can hold for 1 minute.
5.
Keep breathing in 5 groups in double angle posture.
If you have conditions, you can hold it for 1 minute.
This action is helpful to open your shoulders during handstand.
6.
Stretch your elbows, shoulders and hips against the wall at the same height, and keep your feet as wide as your hips for 1-2 minutes.
7.
Try headstand.
It’s best to practice the above groups every day.
Choose the time to start handstand according to your own situation.
Next, through the following postures, Xiaomi focuses on teaching you how to practice handstand step by step.
01 ― push ups look like handstands only need balance practice, but in order to effectively support your inverted and straight body, you need more upper body strength.
This is the best exercise.
It can make your arms, shoulders, upper back and core stronger.
02 back bend push ups here is a push up variant that strengthens your shoulders, upper back, quadriceps and core.
It can also make you get used to the feeling of upside down.
Do it 10 times in each group and 3 times a week, and you will find that the strength of your upper body has changed significantly.
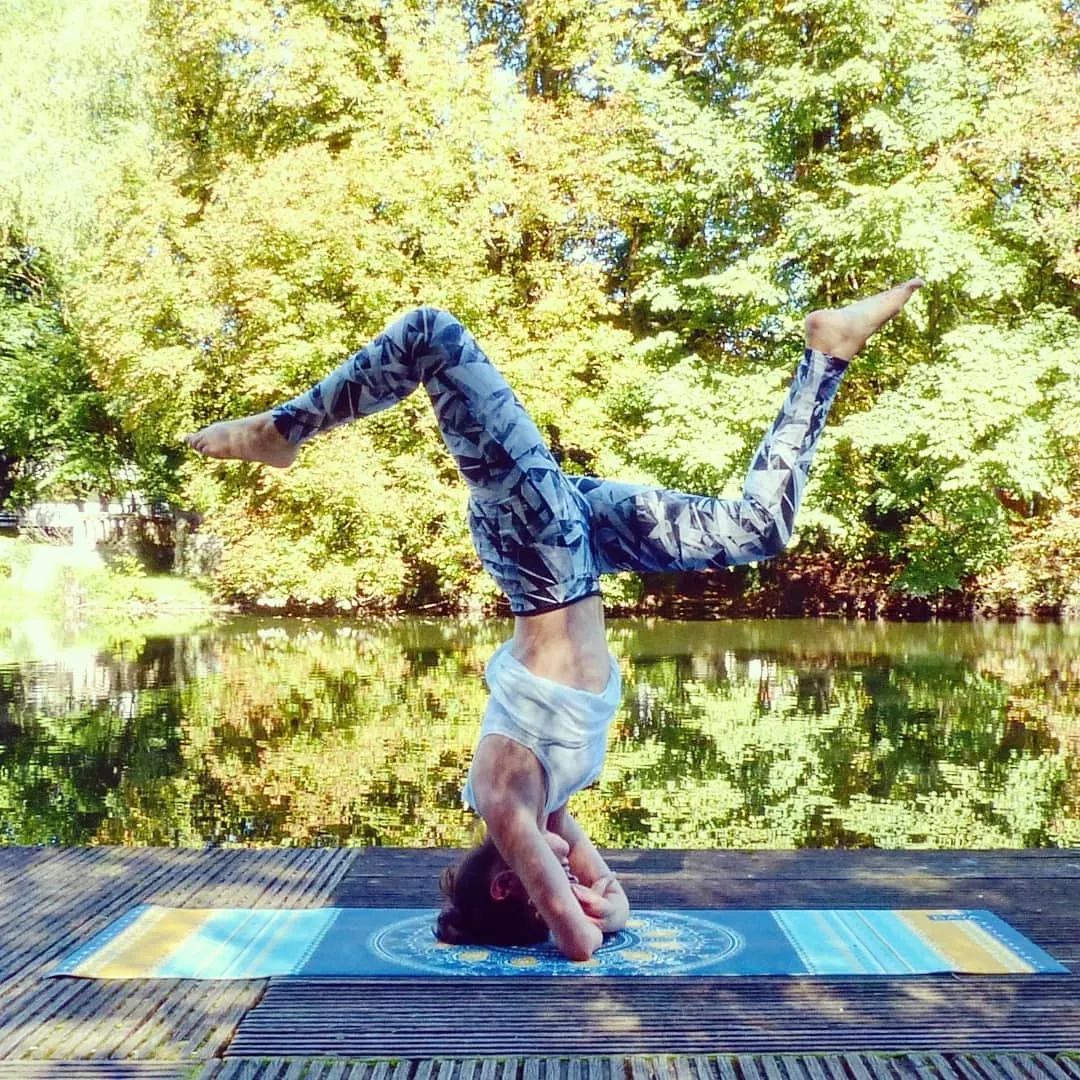
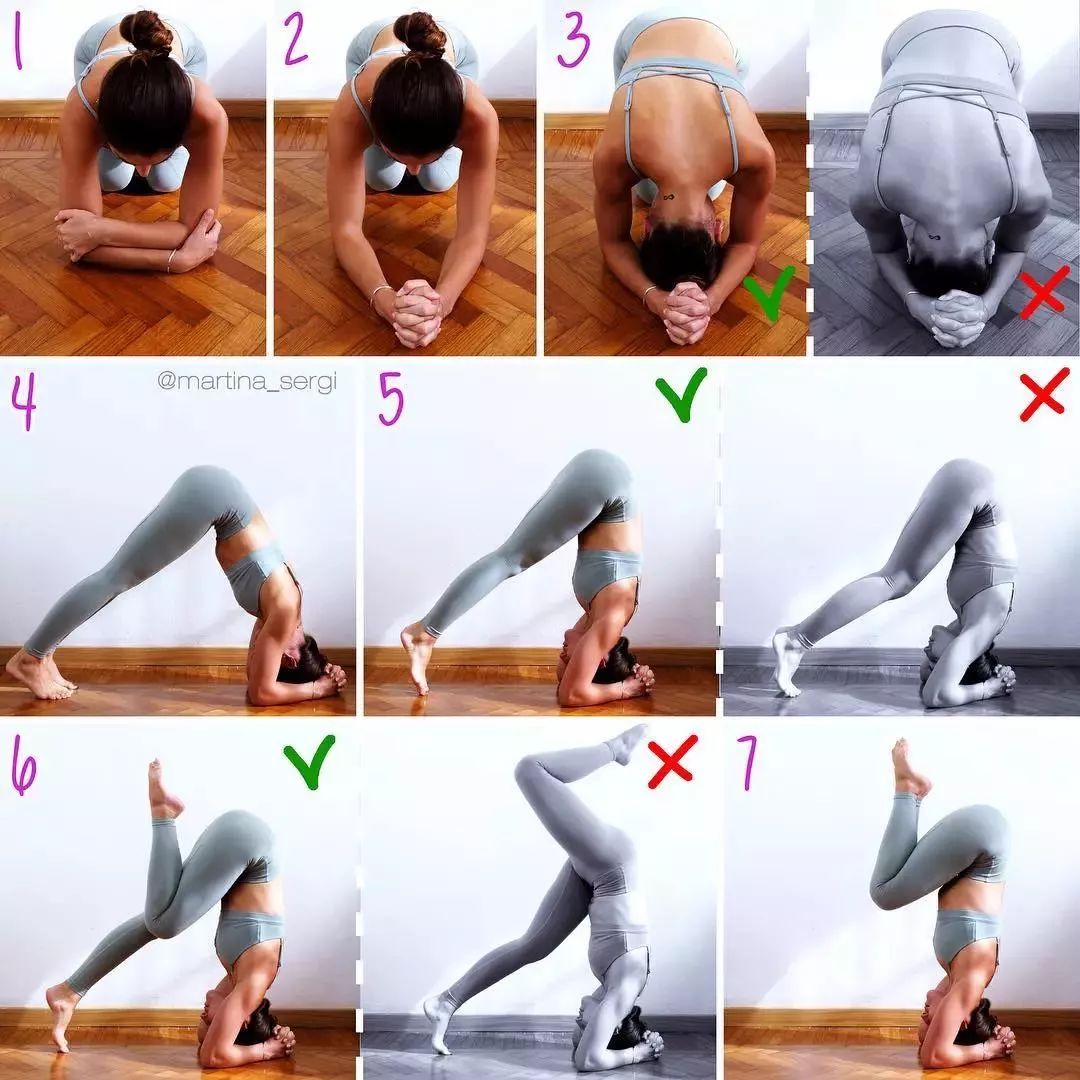
If you want to practice handstand well, you must not miss this pose! 03 head handstand because hand handstand is an advanced inverted stereo, it is easier to practice from a more stable inverted stereo.
At this time, head handstand will be practiced.
Try practicing headstands to build your balance and strength.
04.
Forearm handstand after the head handstand is completed, forearm handstand is the next difficult inverted stereo, but it is simpler than hand handstand.
When you stand with your forearm upside down, the area of contact with the ground is larger than that of handstand, which is easier to balance.
Practice against the wall first to prevent falling down; Then leave the wall to practice.
05 crow pose the next step is crow pose, because it requires upper body strength, balance and core strength.
It looks like a mini handstand, which can exercise your hands and wrists to get used to supporting the weight of your body.
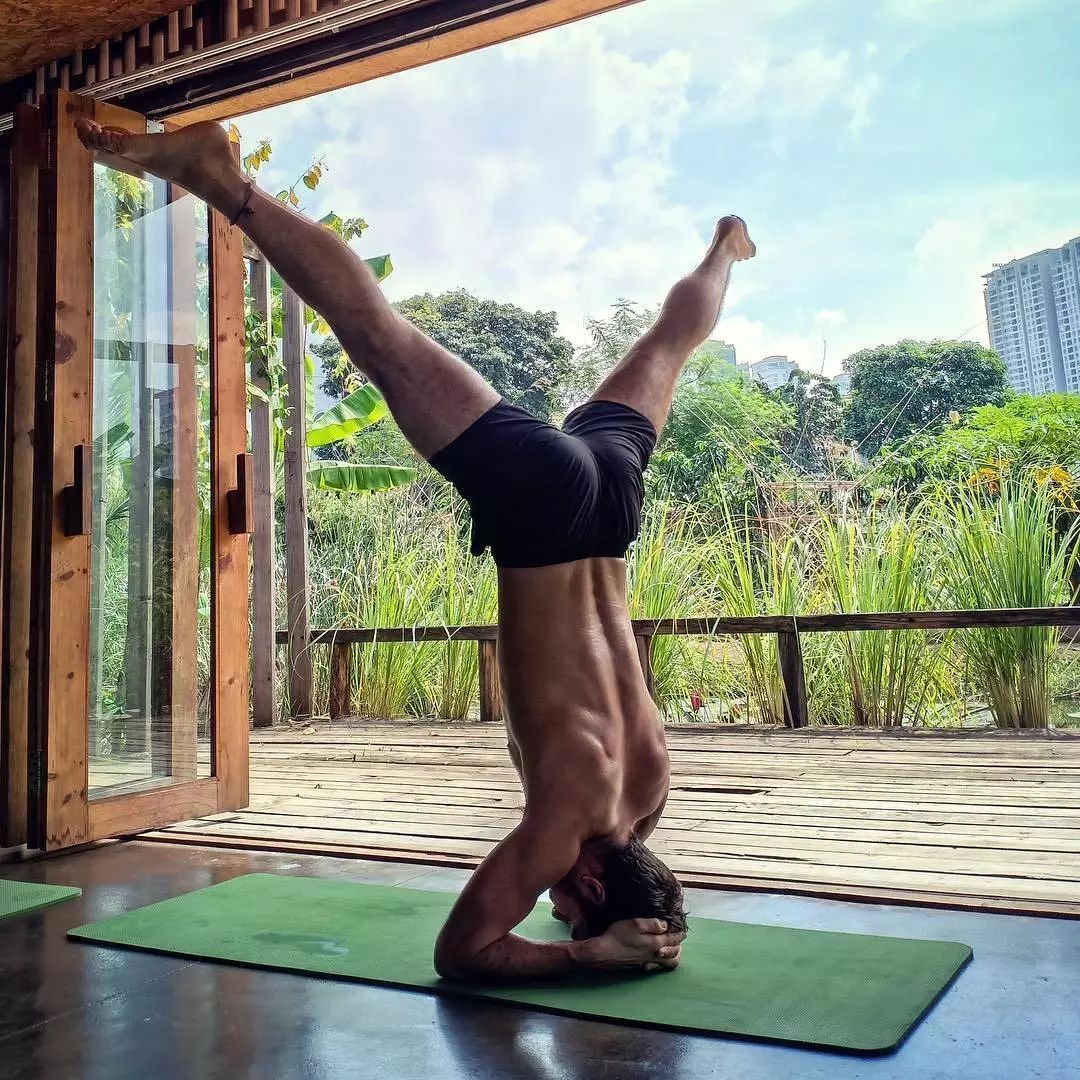
06 split leg handstand although the ultimate version of Yoga handstand is to keep the body in a straight line, it’s really difficult at first.
A split handstand is easier.
Lean against the wall and stay away from the wall.
Just point your toes on the wall.
When you have a good balance, move your toes away.
07 handstand against the wall, put your hands about 15 cm away from the heel of the wall, push your legs up to the handstand, put your head against the wall and leave your feet away from the wall.
This keeps your body in position, especially your hips and shoulders.
Hold this position for as long as possible, and you will feel your core and upper body strength trying to keep your body up.
When you’re ready, start pulling your head off the wall and finish the handstand.
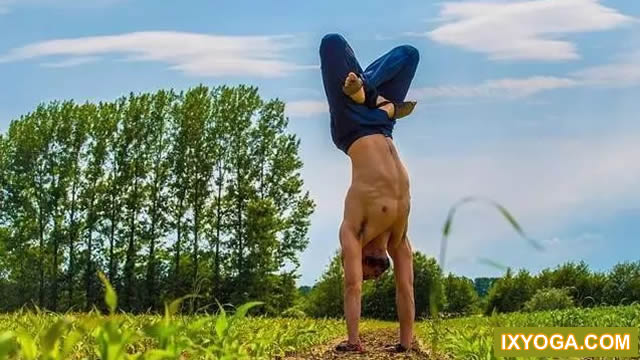
08 handstand after mastering the handstand against the wall, you are ready to move towards handstand without any assistance.
Push your legs up in a controlled way, come to the split hand handstand, and then slowly close your legs together like scissors.
Keep your eyes focused on a point on the ground below, keep your hips directly above your shoulders, and spread your fingers.
Keep it as long as possible.
Make a little progress every day and keep practicing handstand.
You will gain a better self!..